
Taking Screenshots on Fire Devices
When you submit your app to the Amazon Appstore, you must include various screenshots of your app to include with your app's listing. This guide describes the process of taking screenshots on various Fire devices. For a list of required images, see Images and videos.
Fire TV
To take screenshots from a Fire TV device, follow the same process (as outlined in Android's adb documentation) for taking screenshots on other Android devices:
-
From a terminal session, type the following command:
adb shell screencap -p /sdcard/filename.pngChange
filename.pngto the screenshot file name you want. Note that/sdcardis actually an emulated SD card. No physical SD card is required. -
Transfer the screenshot from your Fire TV device to your computer using the following command:
adb pull /sdcard/filename.png /tmpChange
/tmpto the directory on your computer where you want to transfer the screenshot. -
Navigate to the directory and open the file:
cd /tmp open filename.png -
To delete the screenshot from the
/sdcardlocation, use therm(remove) command:adb shell rm /sdcard/filename.png
To record a video on Fire TV, follow the same steps outlined in the Android documentation. Type
adb shell screenrecord /sdcard/x.mp4 to start recording (replacing x with the desired video name). Press Ctrl+c to stop the recording. Then type adb pull /sdcard/x.mp4 /tmp/x.mp4 to move your video into the tmp folder on your computer.Fire tablets (2013 and newer)
For most Fire tablets (2013 models and newer), you can use physical buttons on the device to take screenshots. If you are developing for older Fire tablets, you can take screenshots from your development computer.
To take a screenshot on a Fire tablet (2013 models and newer):
-
With the device powered on, press and hold down the Volume Down button and Power button together for one second.
The screen will flash briefly and a smaller image of the screen will appear in the center of the screen to indicate a successful screenshot. If the volume is turned up, you'll also hear a shutter sound just before the screen flashes.
- Release the buttons.
-
Using a USB cable, connect the tablet to your computer.
On Windows: Navigate to Internal Storage > Pictures > Screenshots on the device. The screenshots are saved with filenames that include the year, month, day, hour, minute, and second in the format: Screenshot_yyyy-mm-dd-hh-mm-ss.png.
On Mac OS X: Install a free app, Android File Transfer(AFT), to complete a USB transfer. Visit android.com/filetransfer and follow the onscreen instructions. After installation, the AFT application starts automatically when you plug in your Fire device. In the AFT window, navigate to Pictures > Screenshots. The screenshots are saved with filenames that include the year, month, day, hour, minute, and second in the format: Screenshot_yyyy-mm-dd-hh-mm-ss.png as shown below:

Android File Transfer window
Fire tablets (2012 and older) and other Android tablets
You can take screenshots from older Fire tablets (2012 and earlier) and other Android tablets using the Eclipse IDE, a popular desktop developer tool for Android.
- Connect the tablet to your computer as described in Connect to Fire Tablet through ADB.
- In Eclipse, from the Window menu, select Open Perspective > Other… > DDMS.
-
Select the tablet, and click the camera icon. (If the tablet isn't shown, from the Window menu, select Navigation > Show View Menu > Reset adb) The Device Screen Capture window shown below displays the current screen as shown on the tablet. If the device screen saver is on, the window shows what would be on the screen if the screen saver was not running.
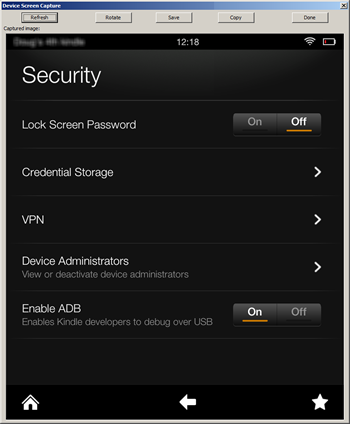
Device Screen Capture Window - Save the screen by clicking Save.
- When you are finished taking screenshots, click Done.
Last updated: Oct 02, 2023