
Submit Your App to the Appstore
When you've finished building your app and are ready to submit it to the Appstore, you'll need to generate a signed APK, gather image assets, prepare app descriptions, create a developer account, and complete other tasks so that you can easily enter the required information in the Amazon Appstore submission process.
- Configure Your Version Numbers
- Target Fire TV Devices in Your App Manifest
- Test Your App
- Ensure Adherence to Amazon's Content Policy
- Generate a Signed APK File
- Gather Image Assets for Your App
- Decide on Your App's Category
- Create Descriptions of your App
- Create Your Amazon Developer Account
- Set Your Company Profile Name
- Submit Your App
- After You Submit Your App
- Increasing Visibility for Your App
- Submit a New Version of Your App
Configure Your Version Numbers
In your build.gradle (Module: app) file (in the Gradle Scripts directory) (Android view), configure the versionCode and versionNumber as desired:
defaultConfig {
    applicationId "com.amazon.android.acmemedia"
    minSdkVersion 22
    targetSdkVersion 25
    versionCode 1
    versionName "1.0.0"
    testInstrumentationRunner "android.support.test.runner.AndroidJUnitRunner"
    multiDexEnabled true
}
The versionCode (an integer) provides an internal numbering for your app's version. See android:versionCode for more details.
The versionName (a string) is the version that users see. See android:versionName for more details.
The settings in your app's build.gradle file will overwrite any similar settings in your app's manifest.
For more details about the minSdkVersion and targetSdkVersion, see What to Set for minSdkVersion and targetSdkVersion.
Target Fire TV Devices in Your App Manifest
In your app's AndroidManifest.xml file (in manifests folder), you can target Fire TV devices with the uses-feature element as follows:
<manifest xmlns:android="http://schemas.android.com/apk/res/android"
          package="com.amazon.android.acmemedia">

    <uses-feature android:name="android.hardware.touchscreen" android:required="false" />

    <application
      ...
      />
Fire TV devices do not support touchscreens and multi-touch capabilities (whereas tablets and phones do). In an Android manifest, unlike other features, the touchscreen is assumed to be required unless explicitly stated otherwise. By indicating that the touchscreen feature is not required, your manifest will indicate support for Fire TV devices. (See Device Filtering for Fire TV Devices.)
When you upload your APK to the Appstore Developer Console, the Appstore detects which devices your APK supports from the manifest. You can also make manual adjustments to indicate which devices your APK supports in the Supported devices section. Fire App Builder is supported on every Fire TV device. Toggle on support for all of the Fire TV devices.
For more info about the different features across devices, see the specifications for Fire TV devices.
Test Your App
As a best practice, test your app on both Fire TV and Fire TV Stick devices. See the Test Criteria for Amazon Appstore Apps to see the full list of tests that your app must pass.
As long as you haven't modified the core Java files in Fire App Builder in custom ways, your app shouldn't have any issues that would block it from the Appstore. Make sure your videos load from your feed when you select the videos.
Ensure Adherence to Amazon's Content Policy
Make sure you app conforms to Amazon's Content Policy requirements. For example, your app should not include any of the following:
- Offensive Content
- Pornography
- Violence
- Illegal Activity
- Gambling with Real Currency
- Intellectual Property Infringement
- Privacy/Publicity Infringement
- Country- or Region-Specific Restrictions
Intellectual property infringement is especially relevant to media apps. Make sure you respect the copyright, trademark, and publicity rights of any third-party content. The same applies for any graphics or images used in your app logo or splash screen. Most apps that fail the Appstore ingestion process fail due to content policy violations.
Generate a Signed APK File
As you're developing and testing your app, Android Studio builds your APK file in your app's build > outputs > apk directory. The file name is specified in the gradle.properties (Project Properties) file in the Gradle Scripts folder (Android view).
The APK generated during development and testing is named something like ACME-debug-1.0.0-unaligned.apk. This debug APK is automatically signed with a debug keystore and certificate, which is insecure and not accepted by the Appstore but will run on devices via sideloading (or with Android Studio's Run App button) for testing.
To build a release version of your app, you must generate a signed APK file. You can generate a signed APK in a variety of ways, described in Sign Your App. For the easiest approach, follow the steps in Sign your app for release. With this approach, you go to Build > Generate Signed APK … and complete the information required by the APK wizard.

To generate the signed APK, you must select a Key store password, Key alias, and Key password. These credentials help secure your app. However, note that when you submit your app to the Amazon Appstore, Amazon removes the signature you used to sign your app and re-signs it with an Amazon signature that is unique to you, does not change, and is the same for all apps in your account. You can find the Amazon signature hashes for your account by selecting any application in the Developer Console and navigating to the Upload Your App File screen. The SHA-1 and MD5 hashes for your account are listed in the Appstore Certificate Hashes section. Even if you lose the keystore you created to sign your release builds, it won't affect your ability to push out updates to your app because your app's signature is associated with your Amazon developer account.
One of the fields in the APK wizard is the destination folder for the release APK file. By default, Android puts the release build APK in your app's directory. After you build the signed APK, the APK file will be named something like ACME-release-1.0.0-unaligned.apk. You can later upload this version of the APK into the Amazon Appstore (on the Upload Your App File screen). (You do not need an "aligned" version of your APK.)
Gather Image Assets for Your App
You need a variety of image assets (in many different sizes) when you submit your app. These images assets are used to promote your app in both the online Appstore and the device Appstore.
The image assets are described in two sections in Images and videos. The image submission guidelines describe two sets of images:
- The Tablet Assets section describes image assets required for general Fire apps, display on the web, and older devices.
- The Fire TV assets section describes images required for the new user interface for Fire TV that was released in the Fall of 2016.
You need to submit the required images in both of these sections. Gather the required images now so that you can easily upload them when you're on the Appstore details screen in the submission process.
Screenshots are among the required image assets. For details on taking screenshots, see Taking Screenshots on Fire Devices.
Decide on Your App's Category
When you submit your app, you'll need to decide on the right category within Fire TV. You'll make this selection on the Upload Your App File screen.
The categories on the Upload Your App File screen are the same categories that you will find on Fire TV by browsing to Apps > Categories on the top navigation bar.

These same categories also appear in the left sidebar on the Appstore website.

The Appstore website also typically includes the subcategories, but the Fire TV interface does not.
After your app is approved, you can browse to it through this app category on your Fire TV or search for it on the Appstore website.
Create Descriptions of your App
When you upload your app, you'll be asked to provide several descriptions on the Description tab. You should have these descriptions ready to copy and paste in so that you aren't suddenly typing it off the top of your head during the submission process.
You can edit these descriptions after your app is released, but any changes you make will require you to click Submit to resubmit your app (you won't need to re-upload the APK if you haven't altered it).
The following descriptions are required:
Short description: A short version of your app description for use on mobile devices. Maximum characters: 1200. When users browse your app on a Fire TV device, this description appears in one continuous paragraph. Even if you include paragraph breaks in the description form field, the breaks are stripped out in the Fire TV interface's display. Keep this section readable by making it short (3-5 sentences).
For example, here's the short description in the Fire TV interface:
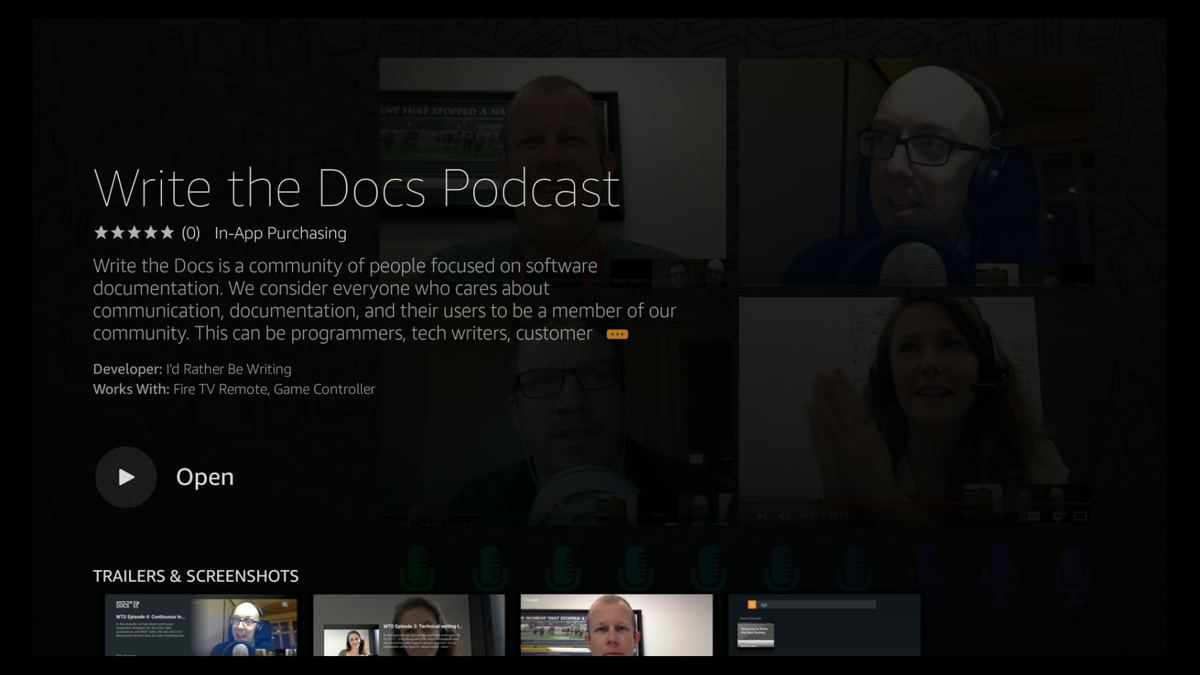
If you click the ellipses […], more text appears, but it appears as one long, scrolling paragraph:
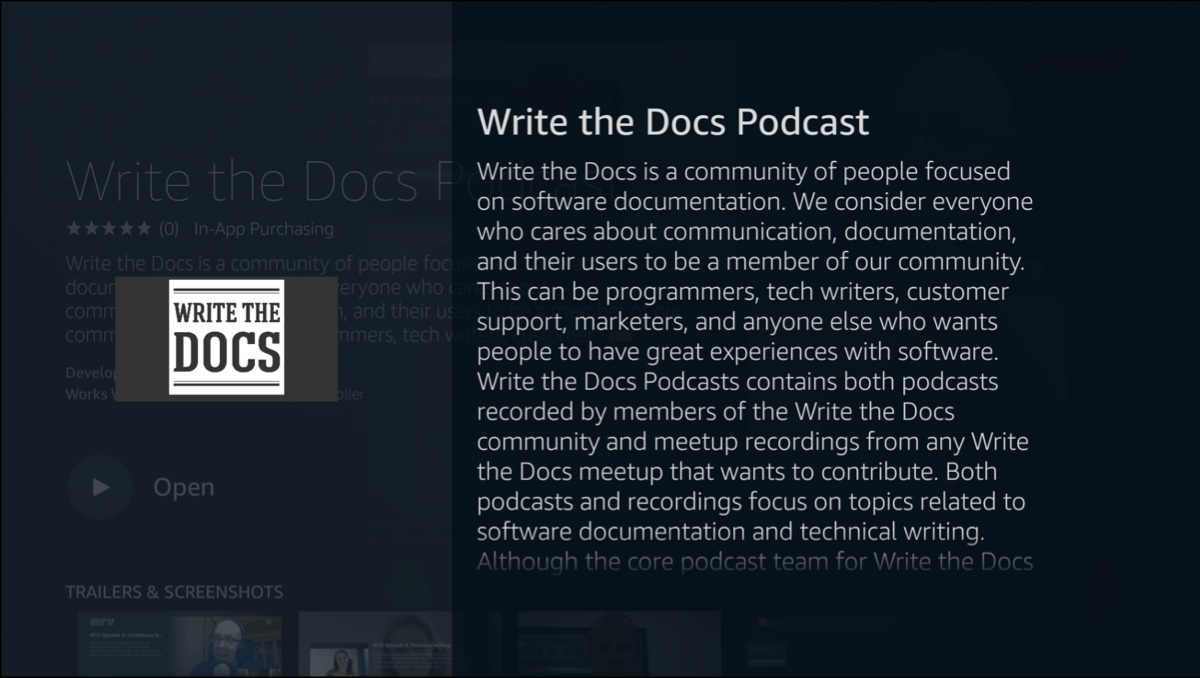
This is why your short description should typically be 3-5 sentences. Additionally, if you offer purchasing within your app, Amazon will append the following note at the end of your description:
PLEASE NOTE: This app contains in-app purchasing, which allow you to buy items within the app using actual money. On Amazon devices, you can configure parental controls from the device Settings menu by selecting Parental Controls.
Long description: A longer description of your app for use on the Amazon.com website. Maximum characters: 4000. Unlike the Short description, the Long description preserves your paragraph breaks. The Long description is published in the "Product description" section on the Appstore web page for your app. You can view examples of "Product descriptions" on any app in the Appstore.
Product feature bullets: 3-5 concise app features, each on a new line. These lines (which get formatted as bullet points) appear on your app's Appstore web page in a section called "Product features."
Keywords: Search terms used to increase the discoverability of your app. Use a comma or white space to separate your terms. These keywords influence searches on the Amazon.com website as well as searches that use Fire TV's search feature.
Although voice search won't target your app unless you add it to the Amazon Catalog, voice search will look at the keywords here and surface your app if relevant. These keywords can be especially helpful if your app name contains phonetics that speech recognition can't easily parse (for example, "writing" might be interpreted as "riding").
Create Your Amazon Developer Account
Make sure you have both an Amazon.com account and an Amazon Developer Portal account. Create both accounts with the same user name so they can be tied together.
When you create a developer account, if you plan to monetize your app, you'll need to complete some tax identity information and other details.
Set Your Company Profile Name
In your developer account, the "Developer name or company name" in your Company Profile (under Settings > Company Profile in the Developer Portal) will appear below your app's name on both your Appstore web page and in the Fire TV user interface.
For example, if a developer named "John Smith" puts "ACME Media" for the Developer name or company name in his developer profile, and the app is named "ACME Productions," the app on Amazon's Appstore will appear as follows:
ACME Productions
by ACME Media
In the Fire TV interface, it will appear as follows:
ACME Productions
Developer: ACME Media
Submit Your App
To submit your app, sign in to your Developer.amazon.com account and click Add a New App. Select Android and then complete the details on each screen.
For details, follow the steps in Submitting Apps to the Amazon Appstore.
After You Submit Your App
After you submit your app, you'll get a confirmation email about the submission. Review time may vary by app. Usually it takes 2-5 business days for your app to be reviewed.
When your app is published (i.e. when it goes live or is ready to go live in case you have entered a future release date) on the Appstore, you will receive an email confirmation. The email notification won't contain a link to your app, so search for it on the Appstore or within the Fire TV text search. (Note: To include your app within voice search results, you will need to integrate your app with the Amazon Catalog.)
Increasing Visibility for Your App
Getting your app into the Appstore is just the first step. For your app to be successful, you'll need to promote your app as much as possible. The Amazon Developer blog often publishes tips on marketing.
Submit a New Version of Your App
When you make and test updates to your app, uninstall any other versions of your app from your Fire TV device. If you're testing your app on a device where you've already downloaded and installed your app from the Appstore, the Appstore version will conflict with your local version. (Fire TV won't allow two different apps containing identical package names to be installed on the same device.)
You can uninstall your app by going to Settings > Applications > Manage Installed Applications. Select your app, and then select Uninstall.
Update details about your app that don't include updating your APK file
If you only want to update your app description or some other detail, but leave the APK as is, do the following:
- Sign in to the Amazon Developer Console.
- On the Dashboard, click App List and select your app.
- Make the updates you want on the various screens.
- On the Review & Submit screen, click Submit App.
Update your APK file
If you want to submit a new version of your APK file, do the following:
-
After making the changes to your code in Android Studio, expand your Gradle Scripts folder, open build.gradle (Module: app), and update the android:versionCode(required) and
versionName(optional). (If you upload a binary with the same android:versionName as a previous binary, the Appstore will reject it.)Note: Do not change the package name of your app. - Generate a signed release APK.
- Sign in to the Amazon Developer Console.
- On the Dashboard, click App List and select your app.
-
In the sidebar, click Add Upcoming Version.

- When prompted about whether you want to create a new version, click Confirm.
-
On the Upload Your App File screen, click the Replace on the binary file and upload the new version of your APK.
Because you're replacing the file, the Appstore retains your previous choices about device support and other details.
-
In the Release Notes section, add information about what's new in the release.
The information you type here will be displayed to users in the Notification Center when users see an update for your app.
Tip: Remember that your app's users might not be developers. Don't type developer jargon about the updates you made. Keep the information readable for a non-technical audience. -
On the Review & Submit screen, click Submit App.
Your app is submitted to the Appstore and goes through the same testing and approval process as before.
Last updated: Oct 02, 2023