Vega CLIを使用してアプリケーションをビルドするための高速リフレッシュの設定
高速リフレッシュはReact Nativeの機能で、アプリを再ビルドしなくてもコードの変更を即座に確認できます。高速リフレッシュは、Vega StudioとVegaコマンドラインインターフェイス(CLI)の両方の環境で動作します。高速リフレッシュはVega Studio(デバッグモード)では自動的に実行されますが、Vega CLIでは手動でのセットアップが必要です。このページの指示に従ってください。
前提条件
- Vega SDKをインストールします。
-
次のいずれかのセットアップを完了します。
Vega仮想デバイスとMetroサーバーの接続
アプリのディレクトリパスを用意してください。
- ターミナルウィンドウを2つ開きます(AとB)。
-
ターミナルAでVega仮想デバイスを起動します。
kepler virtual-device start -
ターミナルBでアプリのディレクトリに移動します。
cd <アプリのディレクトリ> // 出力の例 cd keplersampleapp -
依存関係をインストールします。
npm install -
アプリをビルドします。
npm run build:debug -
ターミナルBでMetroサーバーを起動します。
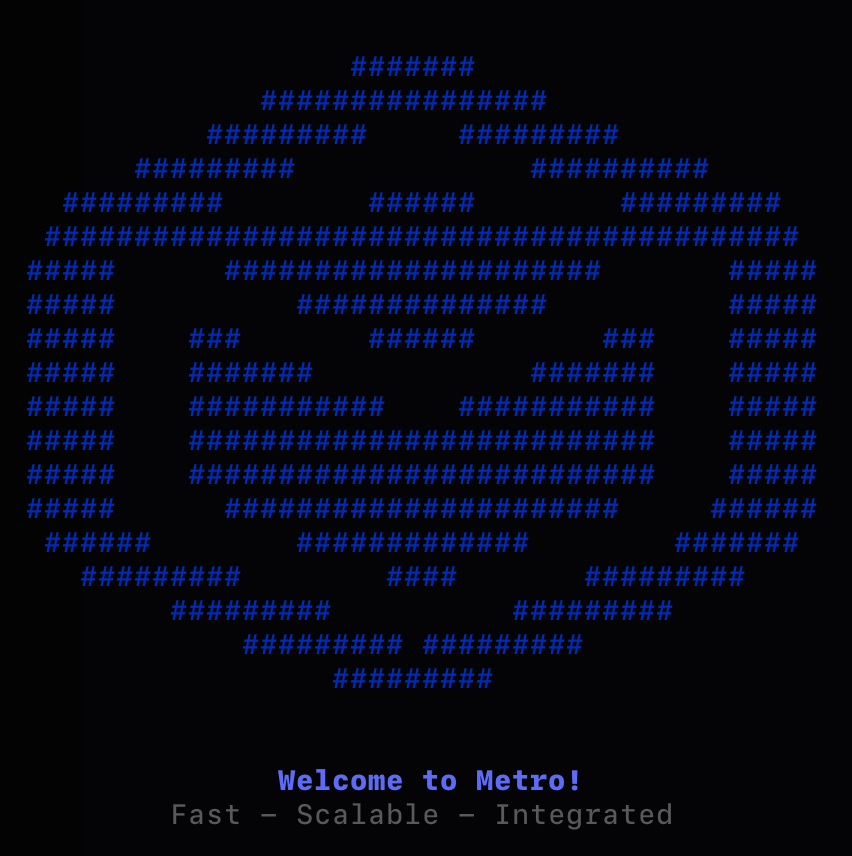
npm startMetroサーバーで依存関係が読み込まれ、ロゴが表示されます。

Metroサーバー -
ターミナルAに戻り、ポートフォワーディングを開始します。
kepler device start-port-forwarding --device <デバイス名> -p <ポート> --forward false // 出力の例 kepler device start-port-forwarding --device VirtualDevice -p 8081 --forward false -
デバッグビルドを使用してアプリを実行します。
kepler run-kepler <VPKGのパス> <com.amazondeveloper.アプリ名.main> -d VirtualDevice

# x86版のVega仮想デバイスでkeplersampleappを実行する場合、コマンドは次のようになります。
kepler run-kepler build/x86_64-release/keplersampleapp_x86_64.vpkg com.amazondeveloper.keplersampleapp.main -d VirtualDevice
ヒント: manifest.tomlで自分のIDを確認し、必要に応じてFQDNをカスタマイズしてください。
カスタムのMetroバンドラーポートの使用
Metroバンドラーは、デフォルトのポートの変更をサポートしています。
-
カスタムポートでMetroを起動するには、次のコマンドを使用します。
npm start -- --port=<新しいポート>ヒント:<新しいポート>は、使用するポート番号(8082など)に置き換えてください。 -
ホストコンピューターのカスタムポートで逆方向のポートフォワーディングを有効にするには、次のコマンドを使用します。
vda reverse tcp:8081 tcp:<新しいポート>
高速リフレッシュセッションの終了
アプリで高速リフレッシュを使用する作業が終了したら、次の手順を実行できます。
-
アプリを閉じます。
kepler device terminate-app --device <デバイス名> --appName <com.amazondeveloper.アプリ名.main> # Vega仮想デバイスでkeplersampleappを終了するコマンドは次のようになります。 kepler device terminate-app --device VirtualDevice --appName com.amazondeveloper.keplersampleapp.main -
Ctrl+Cを押して、Metroサーバーを停止します。
-
ポートフォワーディングを停止します。
kepler device stop-port-forwarding --device <デバイス名> -p <ポート> --forward false # Vega仮想デバイスでkeplersampleappのポートフォワーディングを停止するコマンドは次のようになります。 kepler device stop-port-forwarding --device VirtualDevice -p 8081 --forward false -
Vega仮想デバイスを停止します。
kepler virtual-device stop
Fire TV StickとMetroサーバーの接続
-
Fire TV Stickをコンピューターに接続します。
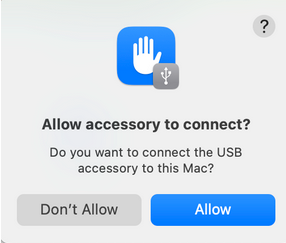
macOSを使用している場合は、Fire TV Stickをコンピューターに接続するとセキュリティプロンプトが表示されます。[許可] をクリックします。

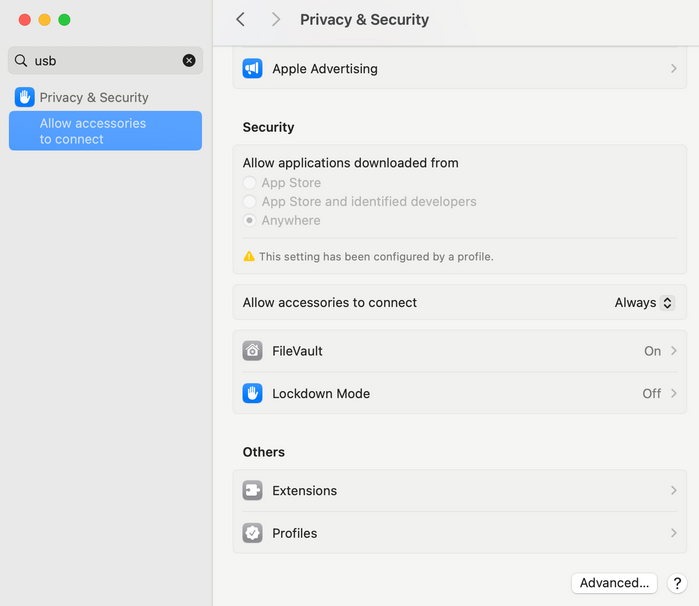
アクセサリの接続の許可 今後プロンプトが表示されないようにするには、次の手順に従います。
a. [システム設定] > [プライバシーとセキュリティ] の順にクリックします。
b. [アクセサリの接続を許可] を [常に許可] に設定します。

[アクセサリの接続を許可] - ターミナルウィンドウを2つ開きます(AとB)。
-
ターミナルAでアプリのディレクトリに移動します。
cd <アプリのディレクトリ> // 出力の例 cd keplersampleapp -
ターミナルAでMetroサーバーを起動します。
npm startMetroサーバーで依存関係が読み込まれ、ロゴが表示されます。

Metroサーバー - [Metroサーバー] ウィンドウで「 r 」と入力します。
-
ターミナルBでポートフォワーディングを開始します。
kepler device start-port-forwarding --device <デバイス名> -p <ポート> --forward false

# たとえば、デバイスのシリアル番号がGXX2A1234567890Aの場合、コマンド全体は次のようになります。

kepler device start-port-forwarding --device GXX2A1234567890A -p 8081 --forward false
重要: コマンドを実行すると、非推奨の警告が表示されます。次の手順を続行してください。デバイスのシリアル番号を確認するには、次のコマンドを実行します。
kepler device list -
依存関係をインストールします。
npm install -
アプリをビルドします。
npm run build:app -
アプリを実行します。
kepler run-kepler <VPKGのパス> <com.amazondeveloper.アプリ名.main> --deviceId <デバイス名>

# デバイスのシリアル番号がGXX2A1234567890Aの場合、keplersampleappアプリを実行するコマンドは次のようになります。
kepler run-kepler build/armv7-release/keplersampleapp_armv7.vpkg --deviceId GXX2A1234567890A
カスタムのMetroバンドラーポートの使用
Metroバンドラーは、デフォルトのポートの変更をサポートしています。
-
カスタムポートでMetroを起動するには、次のコマンドを使用します。
npm start -- --port=<新しいポート>ヒント:<新しいポート>は、使用するポート番号(8081など)に置き換えてください。 -
ホストコンピューターのカスタムポートで逆方向のポートフォワーディングを有効にするには、次のコマンドを使用します。
vda reverse tcp:8081 tcp:<新しいポート>
高速リフレッシュセッションの終了
高速リフレッシュを使用してアプリでの作業を終了したら、デバイスを切断します。
トラブルシューティング
セットアップの問題に関しては、高速リフレッシュに関する問題の解決を参照してください。
関連トピック
Last updated: 2025年11月13日

