
VideoCardコンポーネントの作成
VideoCardコンポーネントの作成
オープンベータ版ドキュメント:本テクニカルドキュメントは、リリース前のオープンベータ版の一部としてAmazonから提供されるものです。ここで説明されている機能は、Amazonがフィードバックを受け取り、機能の開発を繰り返す過程で変更される可能性があります。最新の機能の情報については、最新のリリースノートを参照してください。
VideoCardコンポーネントの定義
基本的なHeaderコンポーネントを作成したので、次にVideoCardコンポーネントを作成する必要があります。
componentsフォルダに移動し、VideoCard.tsxという名前のファイルを作成します。
これで2つのファイルができました。
src/
├── components/
│   ├── Header.tsx
│   └── VideoCard.tsx
└── App.tsx
- 「react」からReactをインポートし、「react-native」からStyleSheet、Text、View、Imageをインポートします。ビデオのタイトル、説明、画像をレンダリングするには、これらのコンポーネントが必要です。
- VideoCardというアロー関数を作成します。
- Imageコンポーネントを含むViewと、2つのTextコンポーネント(タイトルと説明)がある別のViewを返します。ここでは、Text値を「タイトル」と「説明」に、Imageソースをhttps://le1.cdn01.net/videos/0000169/0169322/thumbs/0169322__002f.jpgにハードコードします。
- VideoCardをエクスポートして、ほかのコンポーネントや画面で使用できるようにします。
VideoCard.tsxのコードは次のようになります。
import * as React from 'react';
import {StyleSheet, Text, View, Image} from 'react-native';

const VideoCard = () => {
  return (
    <View>
      <Image
        source={ {
          uri: 'https://le1.cdn01.net/videos/0000169/0169322/thumbs/0169322__002f.jpg',
        }}
      />
      <View>
        <Text>タイトル</Text>
        <Text>説明</Text>
      </View>
    </View>
  );
};

export default VideoCard;
スタイルの追加
次に、VideoCardのコンポーネントをスタイル設定するための新しいStyleSheetを作成します。
- VideoCardコンポーネントの後に以下のStyleSheetを追加します。
const styles = StyleSheet.create({
  videoCardContainer: {
    height: 400,
    width: 550,
    borderWidth: 1,
    borderColor: 'white',
    borderRadius: 5,
  },
  videoTextContainer: {
    height: '25%',
    display: 'flex',
    justifyContent: 'space-around',
    padding: 10,
  },
  videoImage: {
    height: '75%',
  },
  videoTitle: {
    fontSize: 20,
    fontWeight: 'bold',
    color: 'white',
  },
  videoDescription: {
    color: 'white',
  },
});
borderRadiusを使用してコンテナの四隅の角を丸めています。また、justifyContentを「space-around」に設定して、タイトルと説明の周囲の間隔が自動的に調整されるようにしています。justifyContentの各種オプションの詳細については、Flexboxに関するドキュメント(英語のみ)を参照してください。
- それぞれのコンポーネントに新しいスタイルを追加します。
<View style={styles.videoCardContainer}>
  <Image
    style={styles.videoImage}
    source={ {
      uri: 'https://le1.cdn01.net/videos/0000169/0169322/thumbs/0169322__002f.jpg',
    }}
  />
  <View style={styles.videoTextContainer}>
    <Text style={styles.videoTitle}>タイトル</Text>
    <Text style={styles.videoDescription}>説明</Text>
  </View>
</View>
これで、VideoCard.tsxファイルは次のようになります。
import * as React from 'react';
import {StyleSheet, Text, View, Image} from 'react-native';

const VideoCard = () => {
  return (
    <View style={styles.videoCardContainer}>
      <Image
        style={styles.videoImage}
        source={{
          uri: 'https://le1.cdn01.net/videos/0000169/0169322/thumbs/0169322__002f.jpg',
        }}
      />
      <View style={styles.videoTextContainer}>
        <Text style={styles.videoTitle}>タイトル</Text>
        <Text style={styles.videoDescription}>説明</Text>
      </View>
    </View>
  );
};

const styles = StyleSheet.create({
  videoCardContainer: {
    height: 400,
    width: 550,
    borderWidth: 1,
    borderColor: 'white',
    borderRadius: 5,
  },
  videoTextContainer: {
    height: '25%',
    display: 'flex',
    justifyContent: 'space-around',
    padding: 10,
  },
  videoImage: {
    height: '75%',
  },
  videoTitle: {
    fontSize: 20,
    fontWeight: 'bold',
    color: 'white',
  },
  videoDescription: {
    color: 'white',
  },
});

export default VideoCard;
VideoCardコンポーネントのレンダリング
次に、メインのApp.tsxからVideoCardをレンダリングします。
App.tsxファイルにVideoCardをインポートします。
import VideoCard from './components/VideoCard'
- アプリのreturnステートメントで、Headerコンポーネントの後にVideoCardコンポーネントを追加します。
- JSXには親要素が必要(英語のみ)なため、HeaderとVideoCardを空のフラグメントでラップします。
export const App = () => {
  return (
    <>
      <Header />
      <VideoCard />
    </>
  );
};
するとApp.tsxは次のようになります。
import * as React from 'react';
import Header from './components/Header';
import VideoCard from './components/VideoCard';

export const App = () => {
  return (
    <>
      <Header />
      <VideoCard />
    </>
  );
};
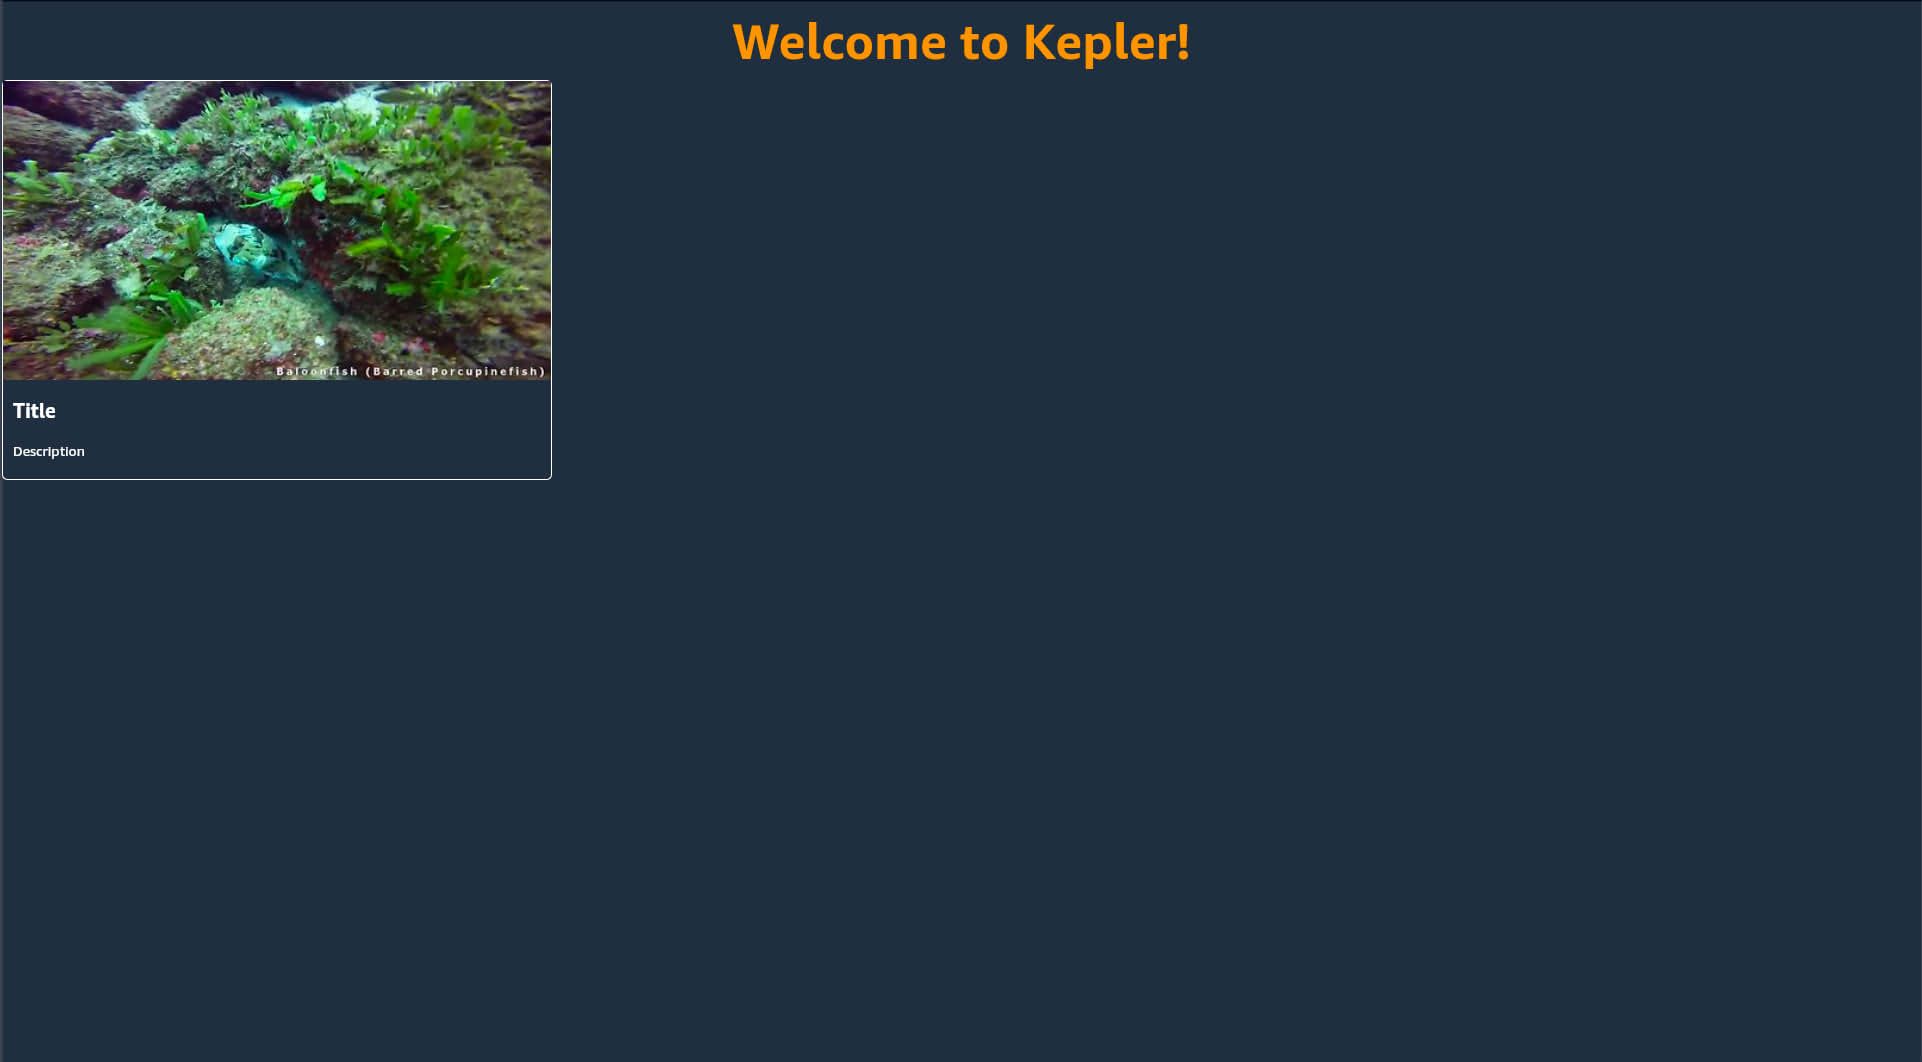
ビデオカードは次のようになります。
表示されない場合は、Metroバンドラーのコンソールでエラーがないかどうかを確認してください。
- Vega Studioを使用している場合は、[出力] ウィンドウを確認します。
- CLIを使用している場合は、Metroサーバーを実行しているターミナルを確認します。
Last updated: 2026年2月9日