
获取视频列表
现在有了可以将数据传递给VideoCard组件的登陆屏幕,下一步是调用API来检索登陆屏幕可以使用的视频数据。
我们将使用React hook来管理应用的数据和状态 (useState),并指示应用在加载时检索数据 (useEffect)。hook本质上是可重复使用的逻辑,可以用在您的代码中。我们不会在本指南中详细解释挂钩,但建议您在以下网址阅读相关更多信息:https://reactjs.org/docs/hooks-intro.html(仅提供英文版)。
定义数据
在检索视频数据之前,我们需要定义数据在TypeScript中的格式。
- 打开
LandingScreen.tsx。 - 导入语句后,使用以下定义创建一个名为
IVideo的接口。
interface IVideo {
  id: string;
  title: string;
  description: string;
  duration: number;
  thumbURL: string;
  imgURL: string;
  videoURL: string;
  categories: string[];
  channel_id: number;
}
存储数据
现在我们需要存储视频数据的地方以及更新这类数据的方法,这将使用户界面重新呈现使用这些数据的任何组件(对事件“做出反应”)。useState hook可以满足我们的这两个需求。它返回一个变量和一个更新变量的函数。每当使用该函数更新变量时,都会导致使用该变量的用户界面组件重新呈现(对事件“做出反应”)。
- 在
LandingScreen.tsx中更新“react”的导入语句以纳入useState。由于useState是命名导出,因此您需要将其包含在大括号中。您还需要更改语句的语法以避免错误。
import React, {useState} from 'react';
- 在LandingScreen箭头函数的顶部,添加以下语句。
const [videos, setVideos] = useState<IVideo[]>();
更新后的LandingScreen.tsx代码应如下所示:
import React, {useState} from 'react';
import Header from '../components/Header';
import VideoCard from '../components/VideoCard';

interface IVideo {
  id: string;
  title: string;
  description: string;
  duration: number;
  thumbURL: string;
  imgURL: string;
  videoURL: string;
  categories: string[];
  channel_id: number;
}

const LandingScreen = () => {
  const [videos, setVideos] = useState<IVideo[]>();

  return (
    <>
      <Header />
      <VideoCard
        title="我的视频"
        description="我视频的描述"
        imgURL="https://le1.cdn01.net/videos/0000169/0169322/thumbs/0169322__002f.jpg"
      />
    </>
  );
};

export default LandingScreen;
检索数据
接下来,我们需要创建一个函数来执行我们的API调用。该函数将使用Fetch API来调用我们的API终端节点(未来将支持axios,它是用于调用其他API的另一个API)。我们将使用setVideo函数来设置从fetch中返回的视频数组。因为fetch返回一个Promise对象,所以我们需要使用.then以异步方式处理代码。
- 在
LandingScreen.tsx中创建一个名为url的常量,然后将其设置为https://d2ob7xfxpe6plv.cloudfront.net/TestData.json
const url = "https://d2ob7xfxpe6plv.cloudfront.net/TestData.json";
- 在LandingScreen的主体中(即在LandingScreen箭头函数中)创建一个名为
getAllVideos()的箭头函数。 - 调用
fetch并传入url。 - 添加
.then以等待响应,然后将其转换为json。
const getAllVideos = () => {
  fetch(url).then(response => response.json());
};
- 再添加一个
then语句,将视频的值设置为响应对象的相应部分。
const getAllVideos = () => {
  fetch(url)
    .then(response => response.json())
    .then(data => setVideos(data.testData));
};
- 将
.catch添加到任何错误消息中,然后使用console.log输出它们。
您的getAllVideos() 函数应该如以下所示。
const getAllVideos = () => {
  fetch(url)
    .then(response => response.json())
    .then(data => setVideos(data.testData))
    .catch(error => {
      console.log(error);
    });
};
(这是常见的JavaScript和ES6语法,使用Promise从API中检索数据。需要注意的主要一点是,我们从API响应中获取数据并调用setVideos。)
测试数据检索
现在我们有了可以返回和更新视频列表的函数,让我们来测试一下。
- 在
getAllVideos()定义后的任意位置添加调用。 - 添加console.log语句以在调用
getAllVideos()之前和之后记录videos。
console.log(videos);
getAllVideos();
console.log(videos);
-
重新加载应用。您会注意到,虽然模拟器显示正确,但Metro终端显示的是无休止的日志语句循环。根据您运行应用的方式,可以在不同的位置找到日志信息:
-
如果使用VSCode,请查看React Native输出面板
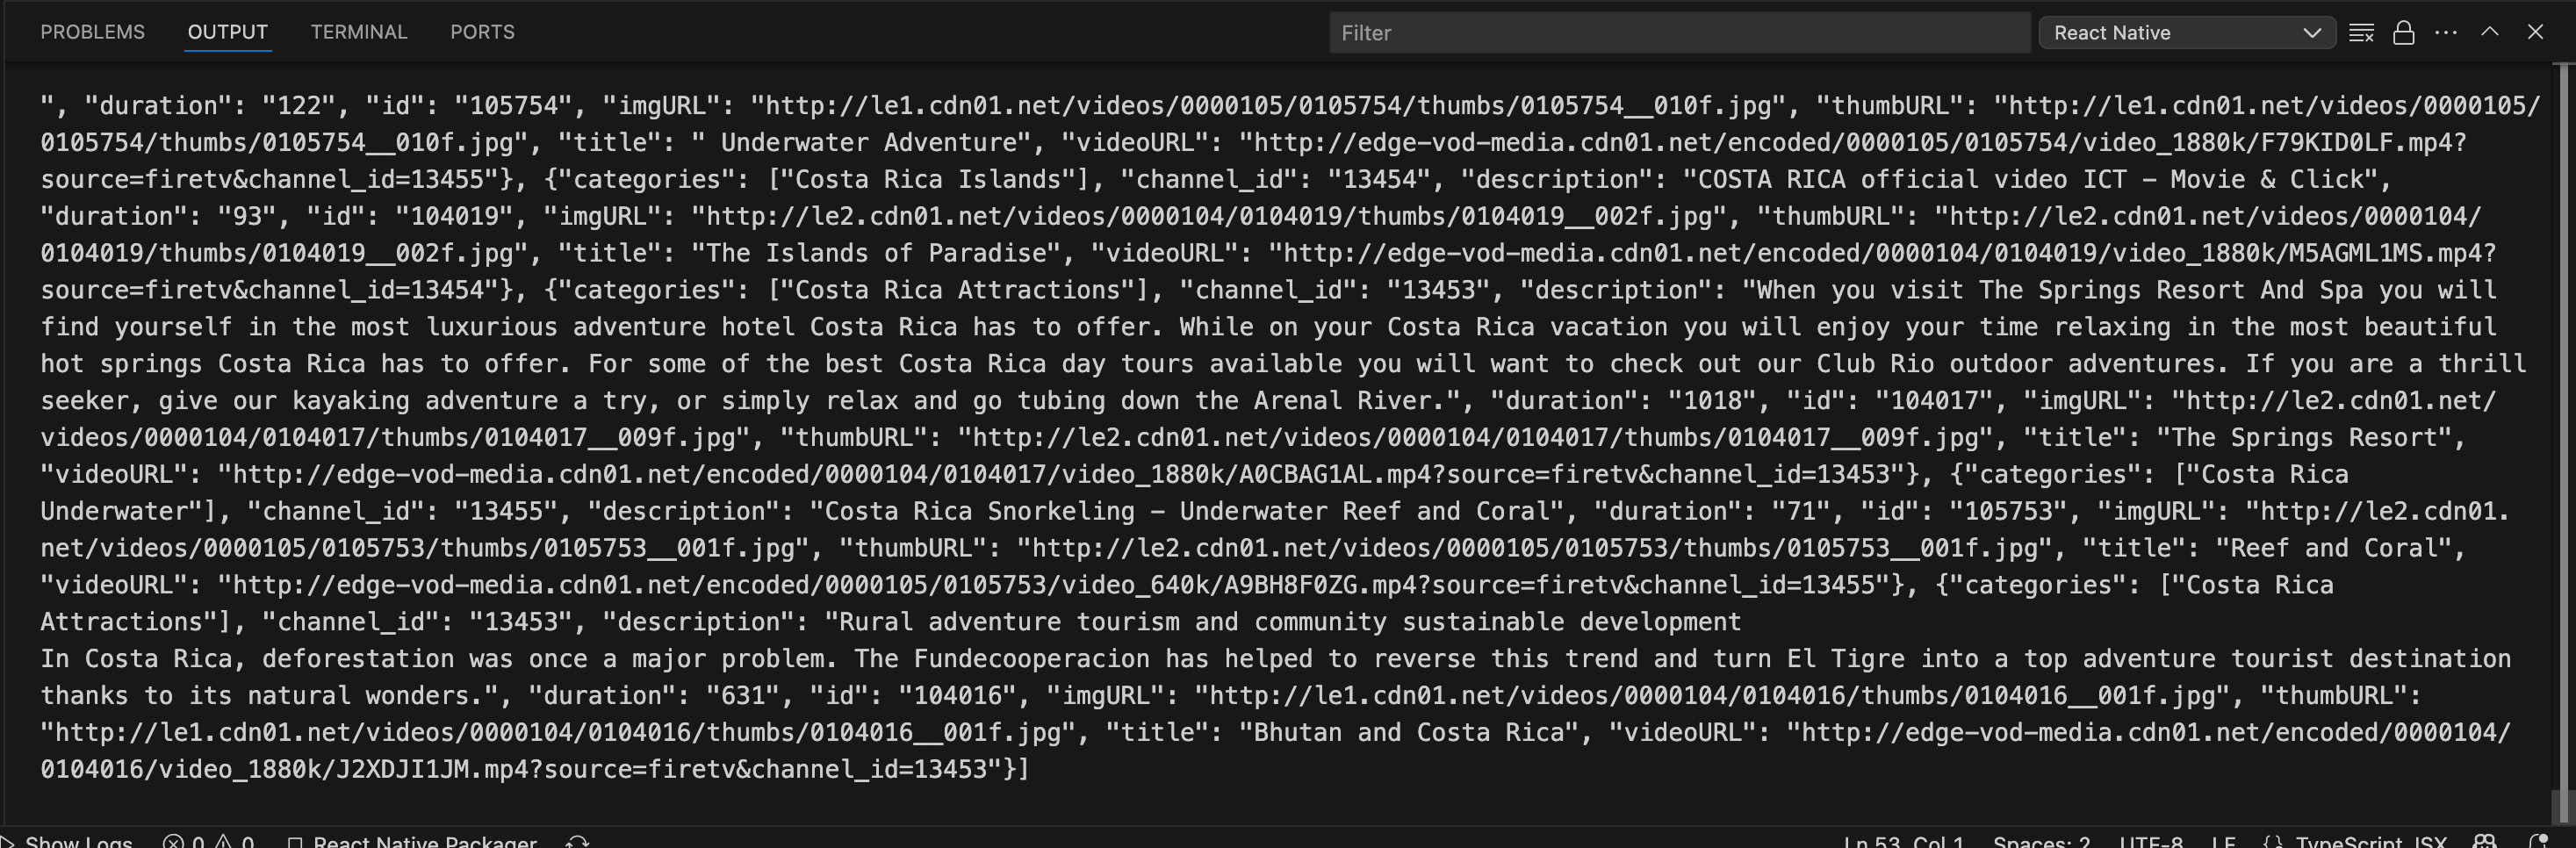
- 如果使用CLI,请在Metro终端查看
之所以发生这种情况,是因为每次videos变量变化时,都会重新呈现LandingScreen。每次重新呈现时,我们都会再次检索视频,这会导致这种无休止的循环。
console.log(videos); // 视频未定义。
getAllVideos(); // 这会导致无休止的重新呈现。
console.log(videos); // 这会向我们展示我们正在无休止重新呈现
添加useEffect hook
为了防止这种情况发生,我们需要在useEffect挂钩中调用getAllVideos。这个hook让我们能够仅在视频在两次呈现之间发生变化时才重新呈现。
- 更新“react”的导入语句以包含
useEffect。这是一个命名导出,因此在大括号中将置于useState旁边。
import React, {useState, useEffect} from 'react';
- 使用
useEffecthook结束对getAllVideos()的调用。这个hook带有一个箭头函数,您将在其中调用getAllVideos()。
console.log(videos);

useEffect(() => {
  getAllVideos();
}, []);

console.log(videos);
注意第二个参数是[]。这个参数规定useEffect只呈现一次。由于我们只需要检索视频一次,因此这个参数可以满足我们的目的。有关使用useEffect hook的更多高级方法,请参阅React Native文档。
- 重新加载应用,您会看到Metro终端窗口不再有无休止的循环。
- 鉴于我们已经解决了无休止循环的问题,可以删除console.log()语句。
创建视频类别
最后,与其存储所有视频,不如将视频筛选成特定的类别,以便在用户界面中按类别分组显示它们。
- 修改状态变量以改为保存我们的分类视频:
const [islandVideos, setIslandVideos] = useState<IVideo[]>([]);
const [underwaterVideos, setUnderwaterVideos] = useState<IVideo[]>([]);
- 使用JavaScript的filter() 方法从API接收视频后,修改getAllVideos函数,以按类别筛选视频:
const getAllVideos = () => {
  fetch(url)
    .then((response) => response.json())
    .then((data) => {

      const islands = data.testData.filter(
        (video: IVideo) =>
          video.categories && video.categories.includes('Costa Rica Islands'),
      );

      const underwater = data.testData.filter(
        (video: IVideo) =>
          video.categories &&
          video.categories.includes('Costa Rica Underwater'),
      );

      setIslandVideos(islands);
      setUnderwaterVideos(underwater);
    })
    .catch((error) => {
      console.log(error);
    });
};
现在我们有两个独立的视频数组,islandVideos和underwaterVideos,我们可以用它们在用户界面中显示不同类别的视频。
更新后的LandingScreen.tsx现在应该如以下所示。
import React, {useState, useEffect} from 'react';
import Header from '../components/Header';
import VideoCard from '../components/VideoCard';

interface IVideo {
  id: string;
  title: string;
  description: string;
  duration: number;
  thumbURL: string;
  imgURL: string;
  videoURL: string;
  categories: Array<string>;
  channel_id: number;
}

const LandingScreen = () => {
  const [islandVideos, setIslandVideos] = useState<IVideo[]>([]);
  const [underwaterVideos, setUnderwaterVideos] = useState<IVideo[]>([]);

  const url = 'https://d2ob7xfxpe6plv.cloudfront.net/TestData.json';

  const getAllVideos = () => {
    fetch(url)
      .then((response) => response.json())
      .then((data) => {
        const islands = data.testData.filter(
          (video: IVideo) =>
            video.categories && video.categories.includes('Costa Rica Islands'),
        );
        const underwater = data.testData.filter(
          (video: IVideo) =>
            video.categories &&
            video.categories.includes('Costa Rica Underwater'),
        );
        setIslandVideos(islands);
        setUnderwaterVideos(underwater);
      })
      .catch((error) => {
        console.log(error);
      });
  };

  useEffect(() => {
    getAllVideos();
  }, []);

  return (
    <>
      <Header />
      <VideoCard
        title="我的视频"
        description="我视频的描述"
        imgURL="https://le1.cdn01.net/videos/0000169/0169322/thumbs/0169322__002f.jpg"
      />
    </>
  );
};

export default LandingScreen;
Last updated: 2026年2月9日