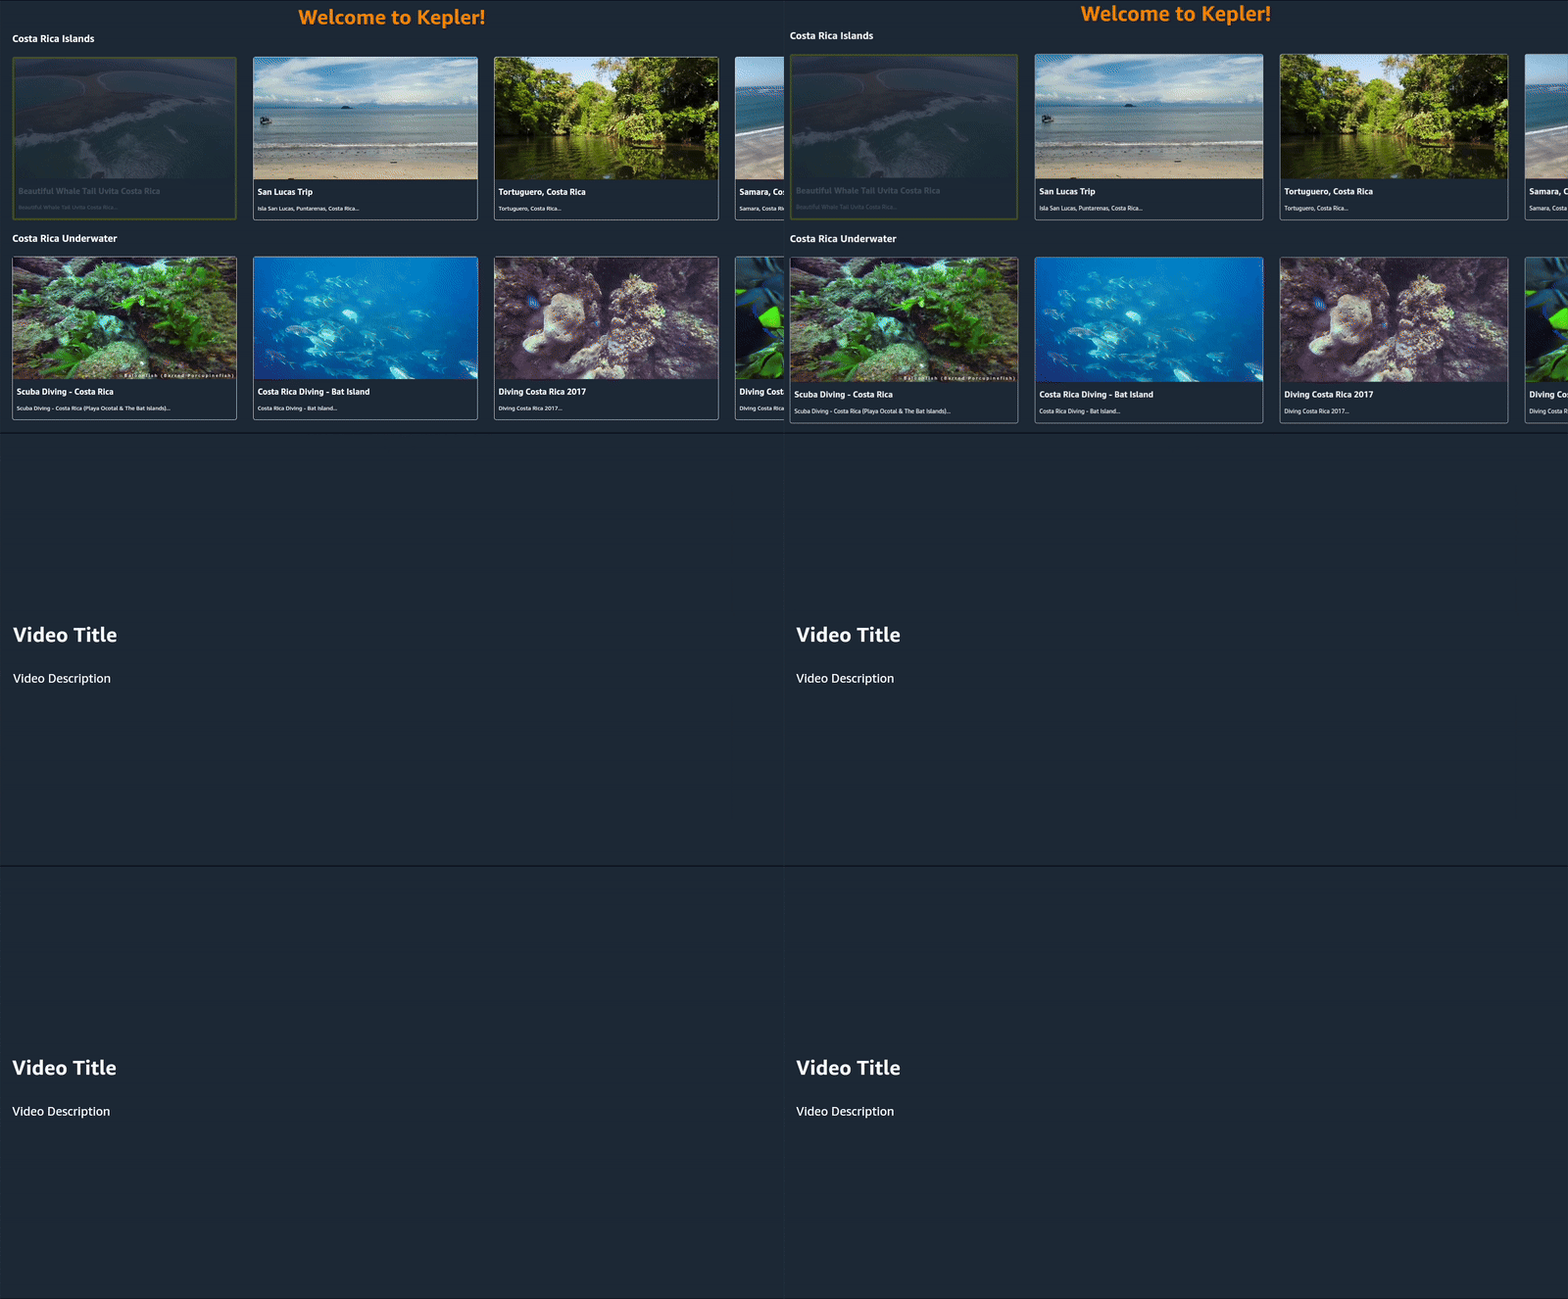
Landing Screen Navigation
Add Navigation
Let's add navigation to LandingScreen, so that we can load the VideoDetailsScreen when we click on a VideoCard.
- In
LandingScreen.tsxdestructurenavigationin the parameters for LandingScreen, declaring it to be of typeany.
const LandingScreen = ({ navigation }: any) => {
  // LandingScreen code
}
- Update the VideoCard to take in the new prop
pressFunctionand set it to navigate to the VideoDetailScreen - Add
{ video: item }as a parameter to thenavigatecall.
    <VideoCard
        key={item.id}
        title={item.title}
        description={item.description}
        imgURL={item.imgURL}
        pressFunction={() => navigation.navigate("VideoDetailScreen", { video: item })}
    />
The LandingScreen.tsx code should look like this:
import React, {useState, useEffect} from 'react';
import {FlatList, StyleSheet, View, Text} from 'react-native';
import {Header, VideoCard} from '../components';
import {TVFocusGuideView} from '@amazon-devices/react-native-kepler';

interface IVideo {
  id: string;
  title: string;
  description: string;
  duration: number;
  thumbURL: string;
  imgURL: string;
  videoURL: string;
  categories: Array<string>;
  channel_id: number;
}

const LandingScreen = ({navigation}: any) => {
  const [islandVideos, setIslandVideos] = useState<IVideo[]>([]);
  const [underwaterVideos, setUnderwaterVideos] = useState<IVideo[]>([]);

  const url = 'https://d2ob7xfxpe6plv.cloudfront.net/TestData.json';

  const getAllVideos = () => {
    fetch(url)
      .then((response) => response.json())
      .then((data) => {
        // Filter videos for each category
        const islands = data.testData.filter(
          (video: IVideo) =>
            video.categories && video.categories.includes('Costa Rica Islands'),
        );

        const underwater = data.testData.filter(
          (video: IVideo) =>
            video.categories &&
            video.categories.includes('Costa Rica Underwater'),
        );

        setIslandVideos(islands);
        setUnderwaterVideos(underwater);
      })
      .catch((error) => {
        console.log(error);
      });
  };

  useEffect(() => {
    getAllVideos();
  }, []);

  return (
    <>
      <Header />
      <TVFocusGuideView autoFocus={true}>
        <Text style={styles.categoryTitle}>Costa Rica Islands</Text>
        <FlatList
          style={styles.flatList}
          horizontal
          data={islandVideos}
          renderItem={({item}) => (
            <View style={styles.itemContainer}>
              <VideoCard
                title={item.title}
                description={
                  item.description.split(' ').slice(0, 20).join(' ') + '...'
                }
                imgURL={item.imgURL}
                pressFunction={() =>
                  navigation.navigate('VideoDetailScreen', {video: item})
                }
              />
            </View>
          )}
        />
      </TVFocusGuideView>
      <TVFocusGuideView autoFocus={true}>
        <Text style={styles.categoryTitle}>Costa Rica Underwater</Text>
        <FlatList
          style={styles.flatList}
          horizontal
          data={underwaterVideos}
          renderItem={({item}) => (
            <View style={styles.itemContainer}>
              <VideoCard
                title={item.title}
                description={
                  item.description.split(' ').slice(0, 20).join(' ') + '...'
                }
                imgURL={item.imgURL}
                pressFunction={() =>
                  navigation.navigate('VideoDetailScreen', {video: item})
                }
              />
            </View>
          )}
        />
      </TVFocusGuideView>
    </>
  );
};

const styles = StyleSheet.create({
  flatList: {
    padding: 10,
  },
  itemContainer: {
    margin: 10,
  },
  categoryTitle: {
    fontSize: 24,
    fontWeight: 'bold',
    color: 'white',
    marginLeft: 30,
  },
});

export default LandingScreen;
Now if you click on a video it should take you to the VideoDetail Screen we created, however as you can see the Video Details are currently hardcoded so next we will update this screen to render the actual video data.


