MCP requirements for Alexa+
Make sure that your MCP server meets all the requirements in this section.Technical requirements
- Your MCP server must support Streamable HTTP. The MCP specification (2025-11-25) deprecated the standalone HTTP+SSE transport in favor of Streamable HTTP. If your MCP server currently uses the legacy SSE transport, you must migrate before connecting to Alexa+.
- If you expect to provide visuals, follow the MCP Apps standard. The MCP Apps SDK (@modelcontextprotocol/ext-apps) provides Agent Skills that guide AI coding agents to scaffold a new MCP App with an interactive UI from scratch, or convert an existing OpenAI App to use MCP Apps.
- If you provide a text-only customer experience, proceed with existing server integration with Alexa+.
- Your MCP server must be accessible via a remote URL. During local development, you can use a tunneling service (such as cloudflared) to expose your server.
Authentication checklist
Discovery-
Your MCP server returns
401 Unauthorized(without aWWW-Authenticateheader) for unauthenticated requests. - Your server hosts a Protected Resource Metadata (PRM) document at the well-known URI according to RFC 9728.
-
Your auth server metadata is available at
/.well-known/oauth-authorization-server. -
code_challenge_methods_supportedmust be present and must includeS256. Account linking won’t proceed without it.
- Required: Use OAuth 2.1 authorization code flow with PKCE (S256).
-
Required: Set the
resourceparameter to your MCP server’s canonical URI. -
Required: Include scopes from
scopes_supportedin the PRM document. Omitscopeifscopes_supportedis undefined.
-
Required: Include the
resourceparameter. -
Required: Include the PKCE
code_verifier.
-
Required: Send the Bearer token in the
Authorizationheader on every authenticated request. - Required: Don’t send the Bearer token in the query string.
- Dynamic Client Registration (DCR)
- Client ID Metadata Documents (CIMD)
- OpenID Connect (OIDC)
- Step-Up Authorization.
-
WWW-Authenticateheader in 401 responses.
Performance
Your MCP server must meet a round-trip query response latency of less than 500 ms.Security and data policies
Media (audio and video codecs)
Audio- AAC LC, HE-AACv1, HE-AACv2 (enhanced AAC+), xHE-AAC, AAC ELD (enhanced low delay AAC), AMR-NB, AMR-WB, FLAC, MIDI, MP3, Opus, PCM/WAVE, Vorbis
- H.264/AVC, H.265/HEVC, AV1, VP9 / VP8, MPEG4, MPEG2, JPEG, VVC, LCEVC, WebP
Connect your MCP server to Alexa+
You can onboard your MCP server to Alexa+ using the Alexa AI CLI. If you use an AI coding agent (Claude Code, Kiro, Codex, Cursor), install the Add-on Agent Skill for faster onboarding. Step 1. Download and install CLI and authenticate After you install CLI, authenticate with your Alexa developer account:~/.alexa-ai/credentials. Use --no-browser for headless/SSH environments.
After you authenticate the CLI, choose whether to create your add-on using an AI agent, or create the add-on manually.
Path A: Add-on Agent Skill (recommended)
The Add-on Agent Skill guides your AI coding agent through the entire onboarding process. It works in Claude Code, Kiro, Cursor, VS Code Copilot, or any coding agent with shell access.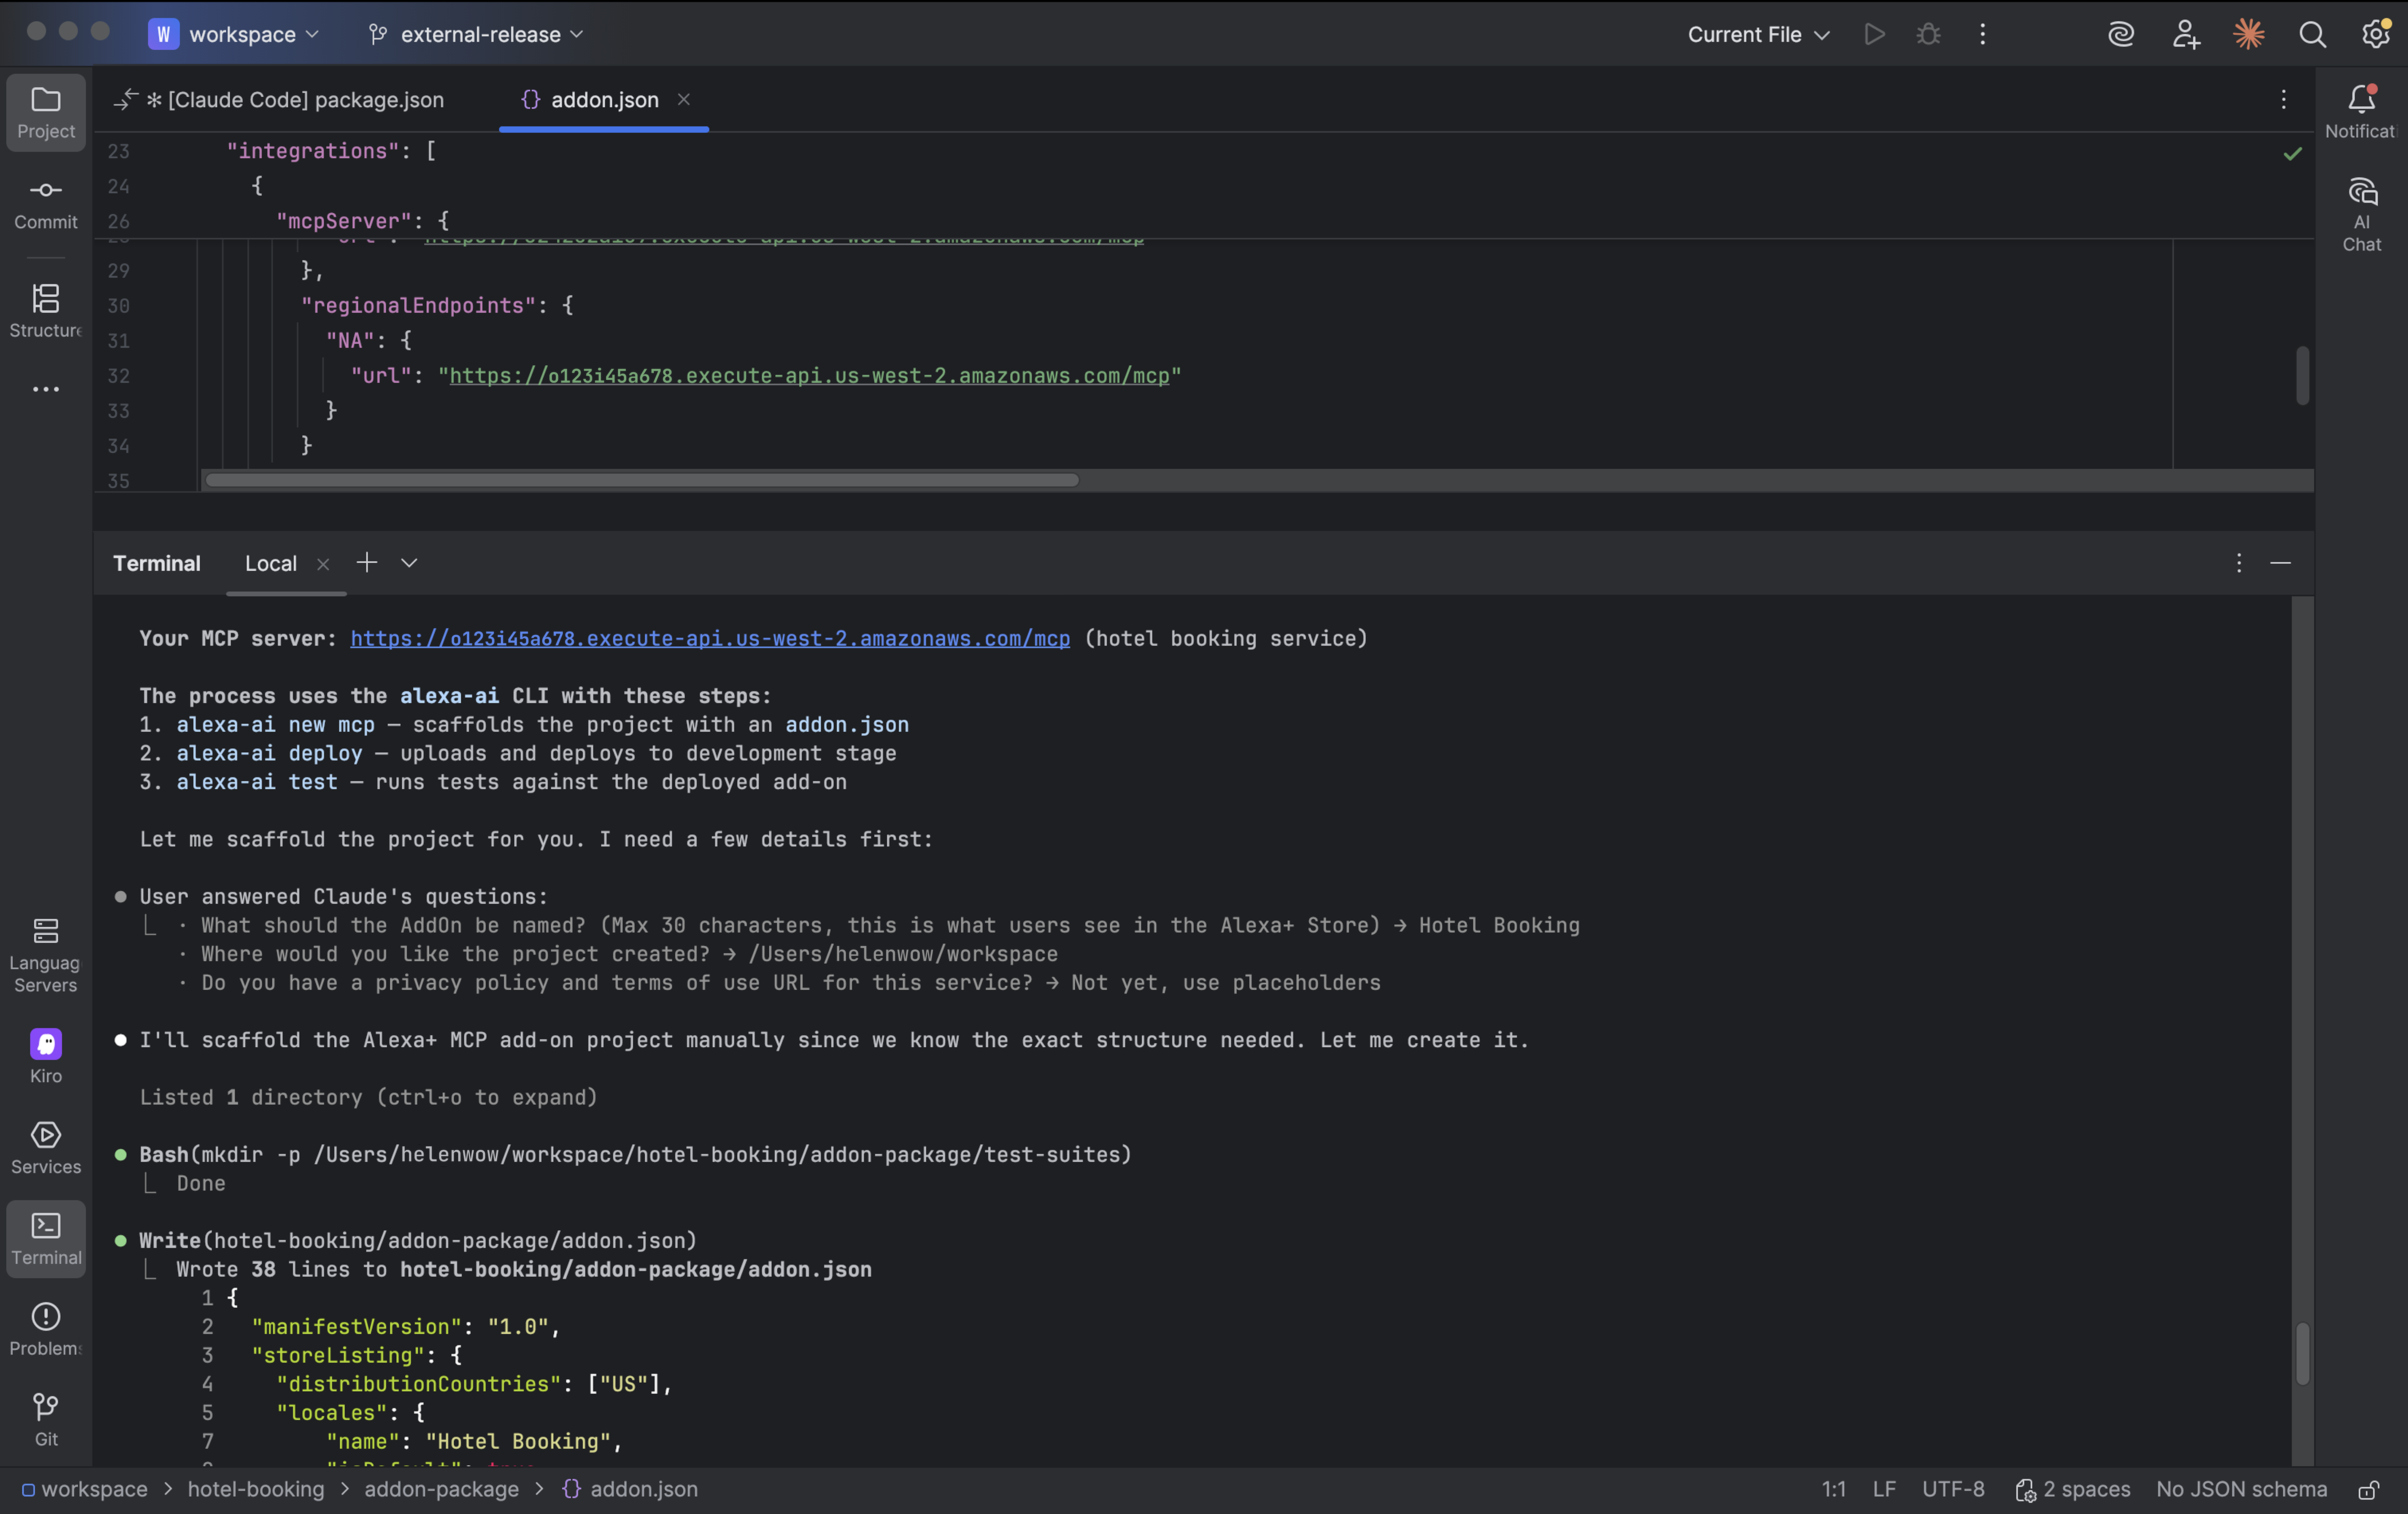 Step 2 — Prompt your coding agent
Open your coding agent and provide your MCP server URL:
Step 2 — Prompt your coding agent
Open your coding agent and provide your MCP server URL:
- MCP Introspection — Gets you authenticated with your developer account. Connects to your MCP server via JSON-RPC 2.0 (Streamable HTTP), discovers tools and resources, proposes an Add-on name. You confirm the name before proceeding.
- Add-on Scaffolding — Runs
alexa-ai new mcpto create the project structure, fills in capability-derived descriptions (shortDescription, fullDescription, examplePhrases) derived from your MCP server. You review and approve. - Media Assets & Compliance — Collects your privacy policy URL, terms of use URL, and required media assets (icon sizes + carousel image). Runs full validation.
- Deploy — Deploys your add-on to the development stage after you confirm. Returns your Add-on ID and enables testing in the web simulator.
- Submit — Submits your add-on for certification after you have tested your add-on in the web simulator.
Path B: Alexa AI CLI (manual)
If you prefer to work without an AI coding agent, use the Alexa AI CLI directly.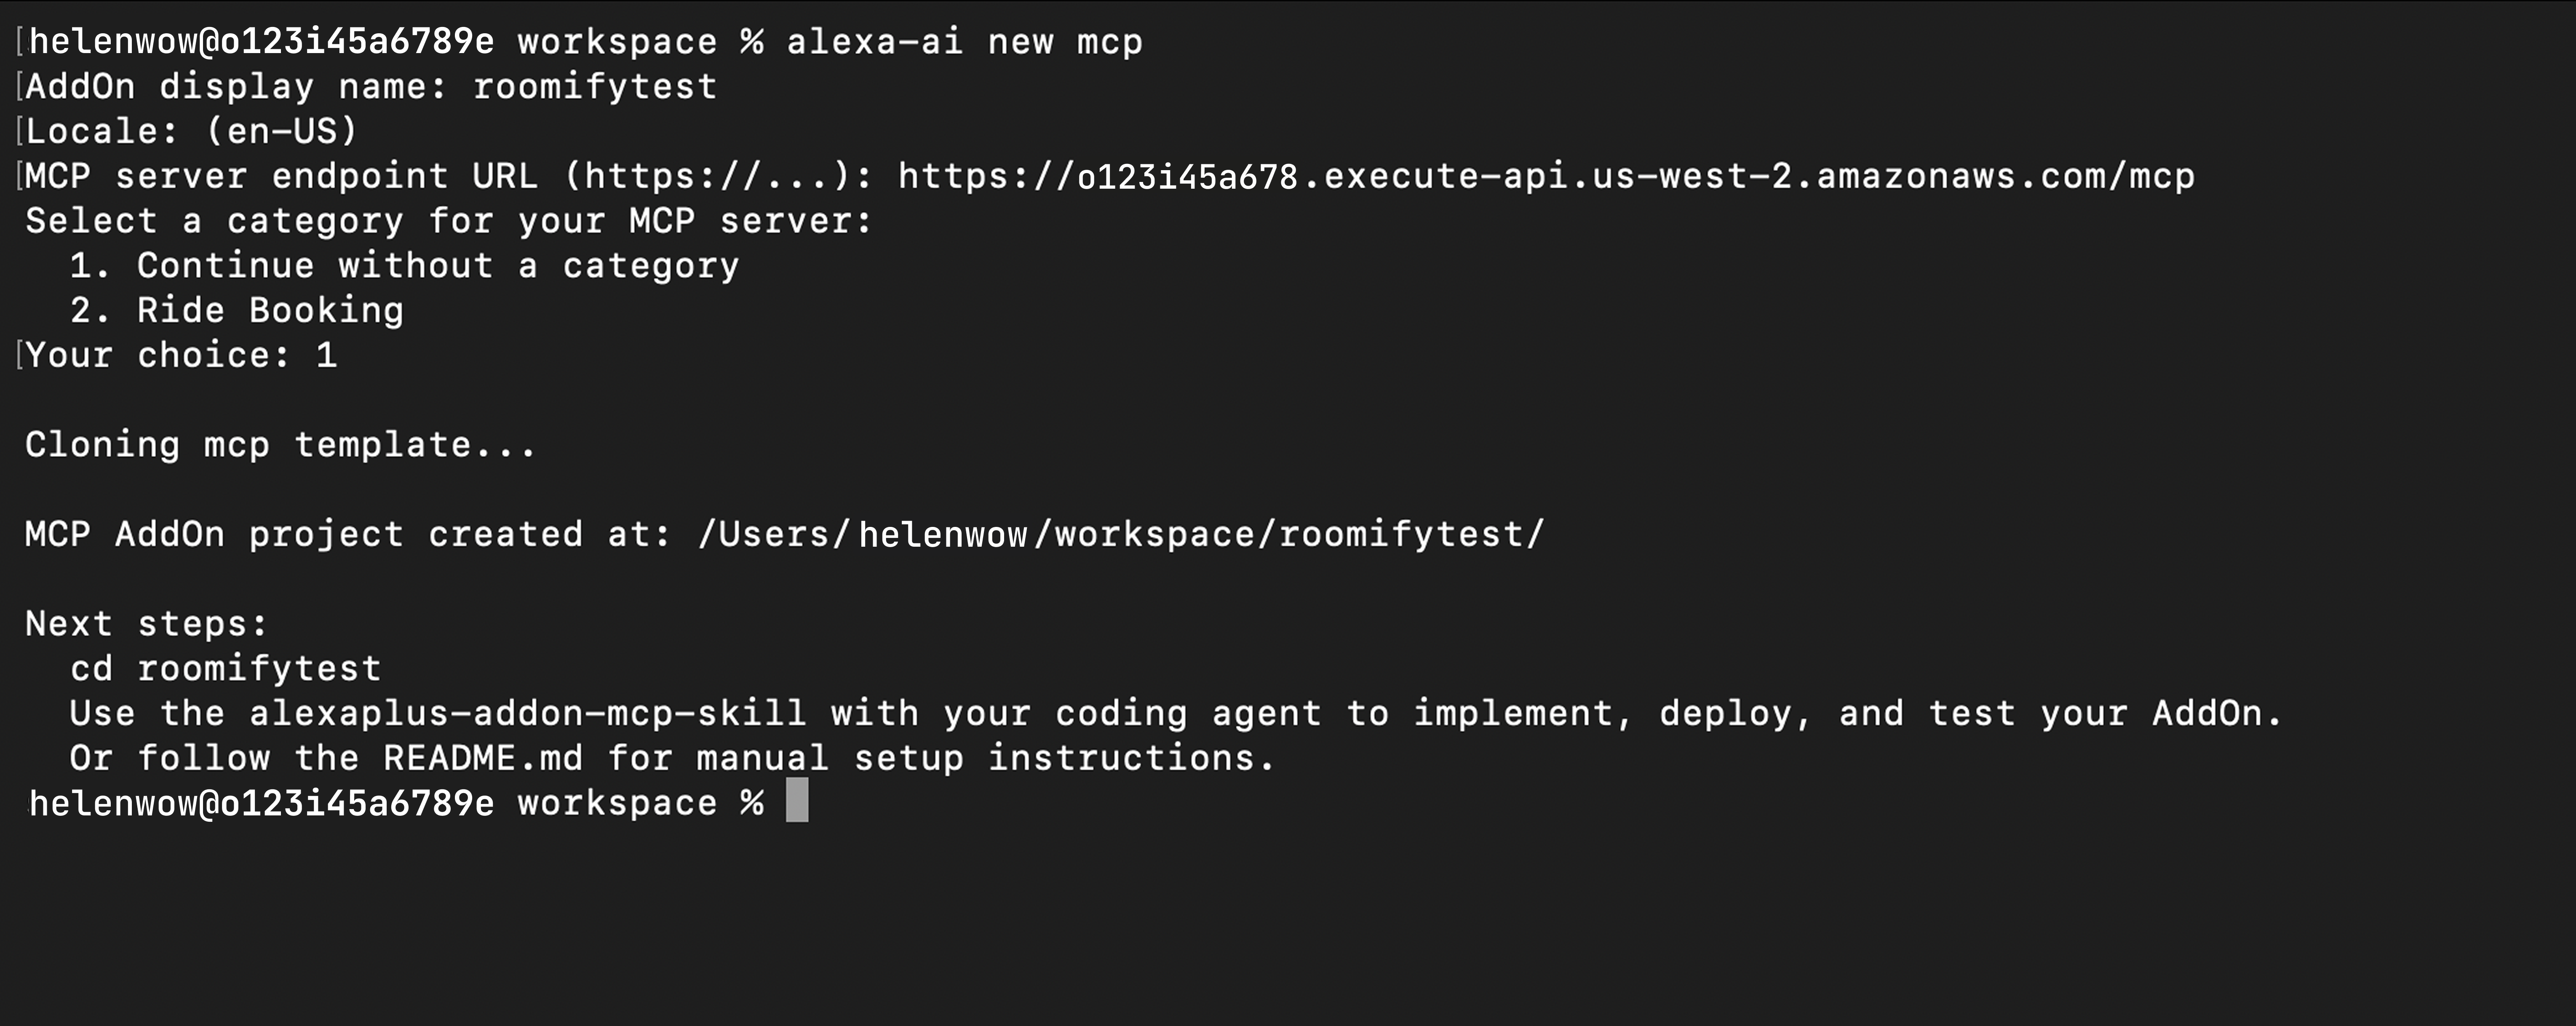 Step 2 — Scaffold your add-on
addon-package/addon.json.
Step 3 — Edit addon.json
Open addon-package/addon.json and fill in:
shortDescription(≤123 characters)fullDescription(≤4000 characters)examplePhrases(3–4 phrases, each ≤200 characters)privacyAndCompliance.privacyPolicyUrlprivacyAndCompliance.termsOfUseUrlmediaAssets(see addon.json schema reference below)
addon.json schema reference
Theaddon-package/addon.json file uses the following schema:
After onboarding
Once deployed, your add-on is available in the development stage. You can do the following:- Test your add-on using the web simulator or on a physical device (see Test Your MCP Add-ons).
- Make changes to
addon.jsonand redeploy withalexa-ai deploy. - Submit for certification when ready with
alexa-ai submit.
alexa-ai deploy. Alexa+ refreshes tool information only on deployment.
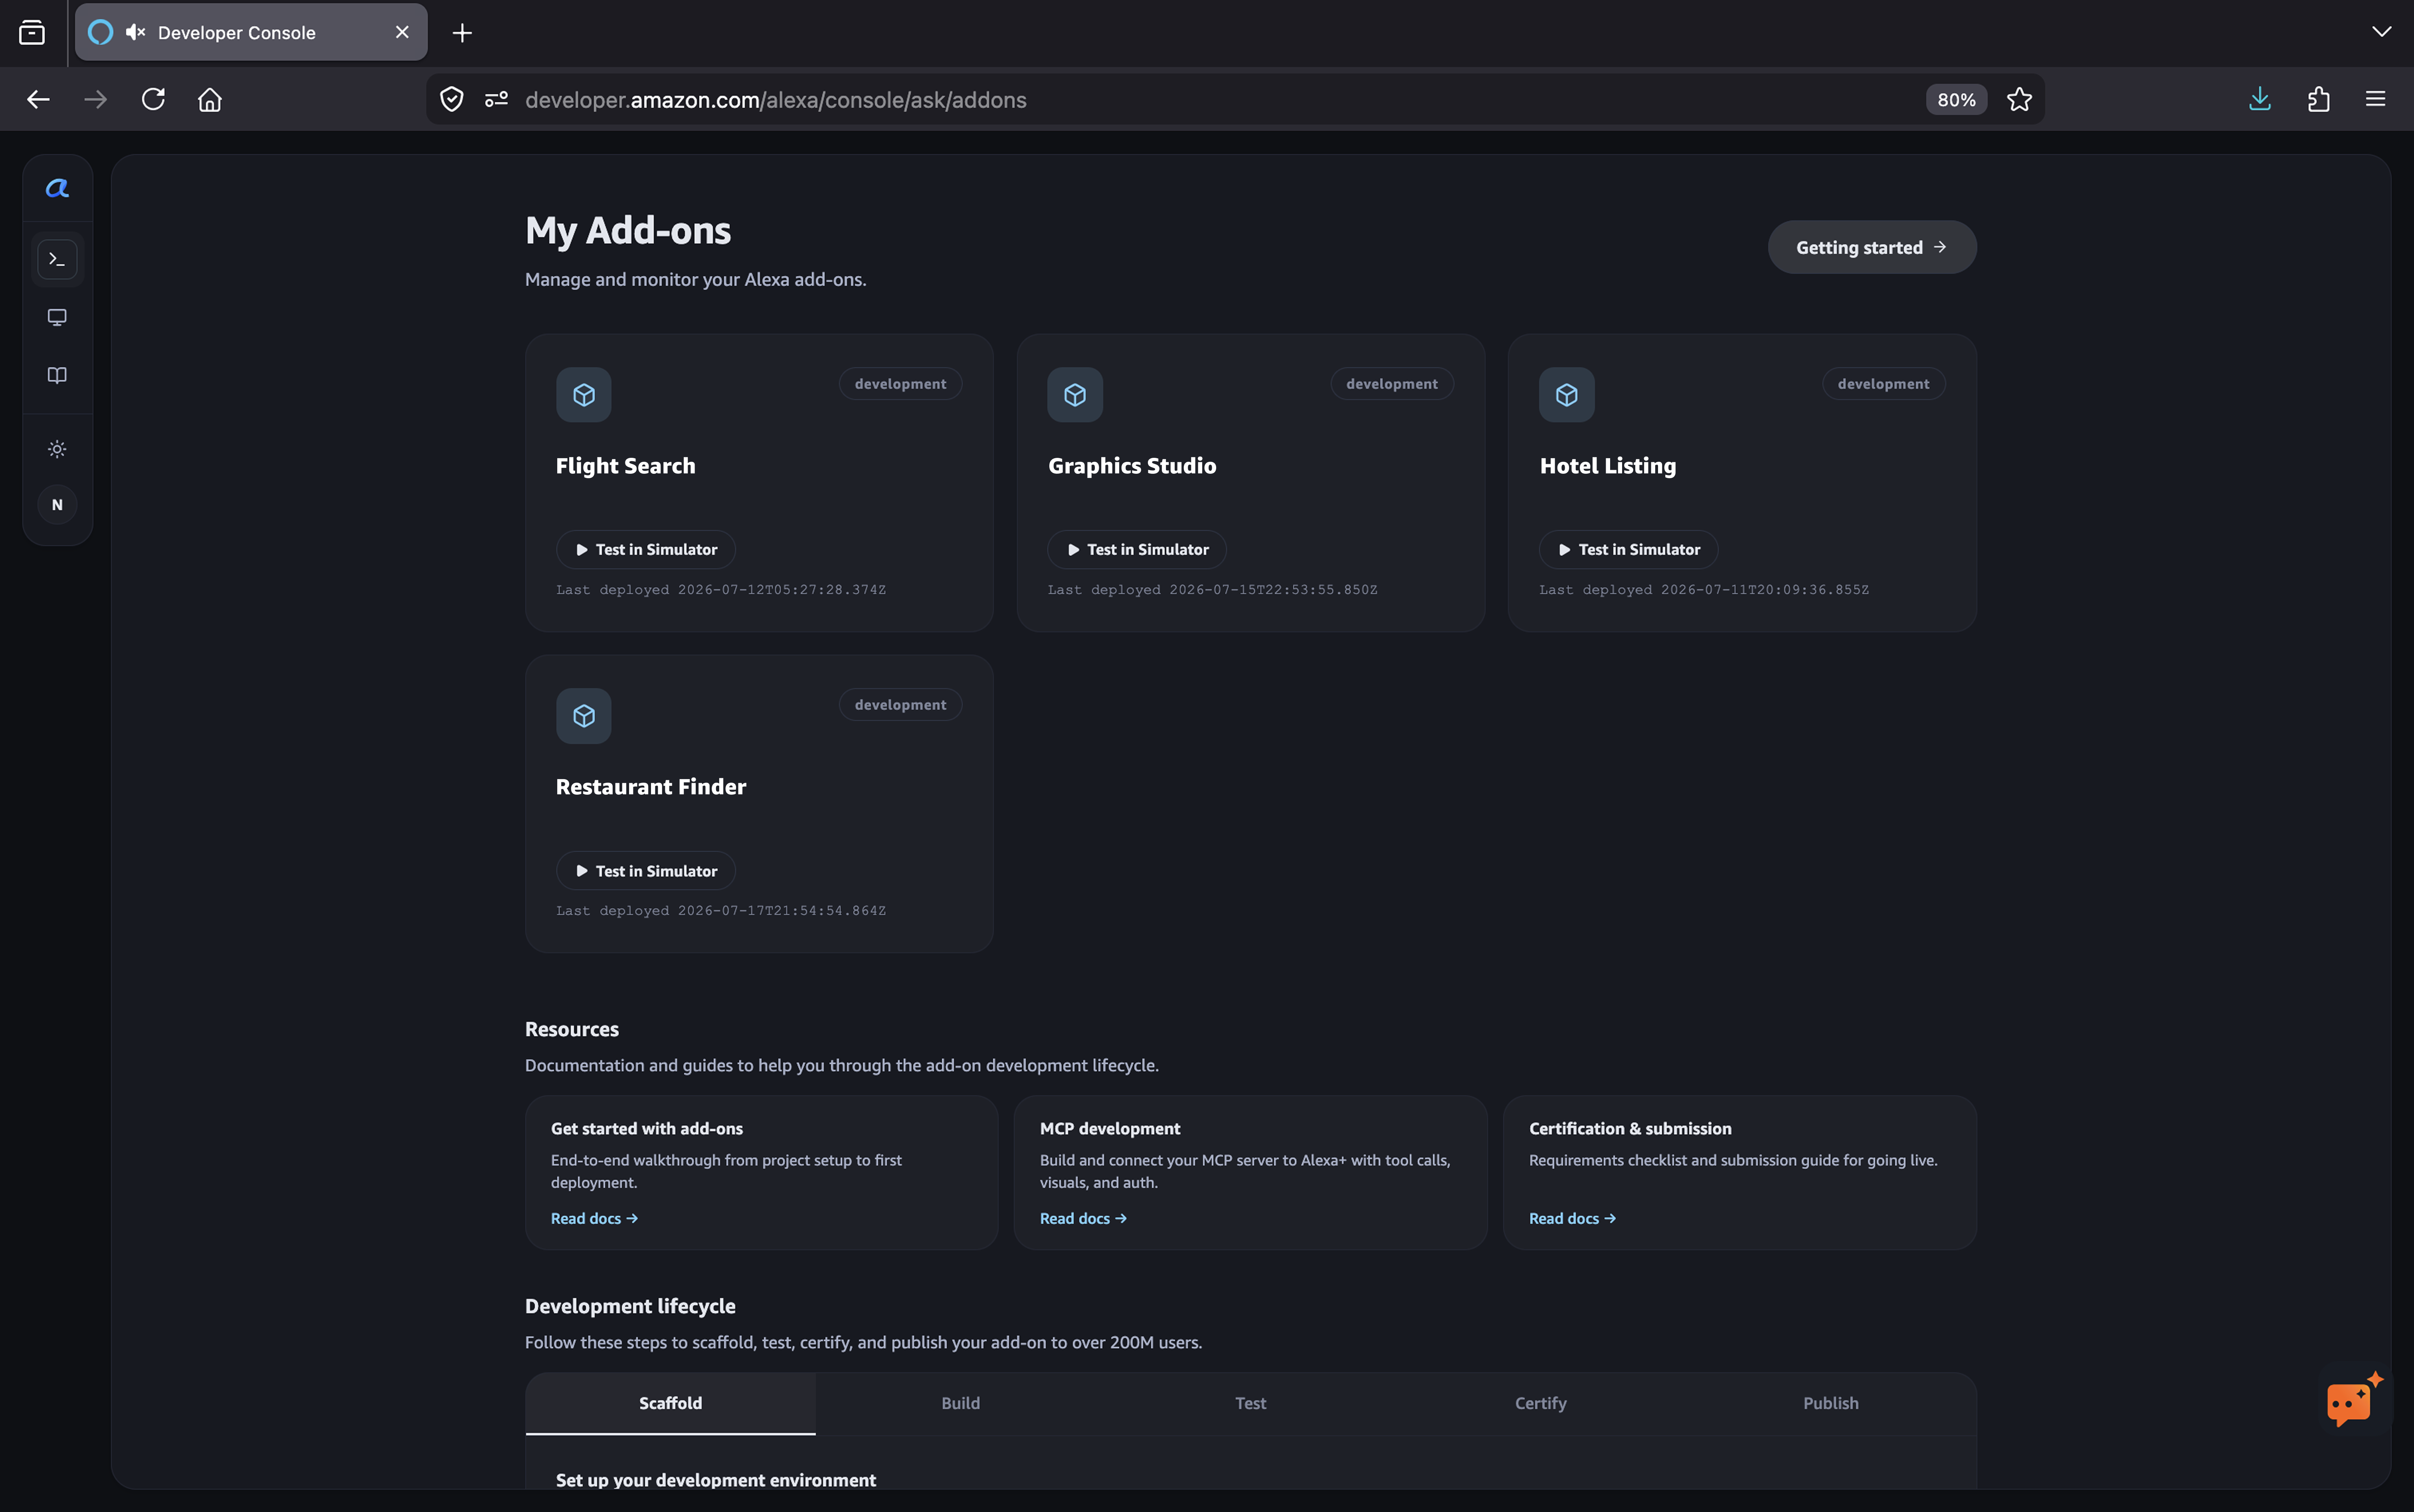
The developer console shows your current add-ons.