

Add NavigationContainer
Before we begin, we need to wrap our app in a NavigationContainer. NavigationContainer manages the navigation tree and contains the navigation state. This component must wrap all navigator types, regardless if you’re using StackNavigator or not.- Open
App.tsxand import NavigationContainer from the Vega supported Navigation library. - Remove the LandingScreen component and replace it with a NavigationContainer component.
Create a StackNavigator
Now that we have a NavigationContainer, let’s add a StackNavigator.- Import
createStackNavigatorfrom the KeplerScript React Navigation Stack library. - Call
createStackNavigator()before the App’s return statement, and store the response in a variable called “Stack”.
createStackNavigator function returns an object containing 2 properties: Screen and Navigator. Both of them are React components used for configuring navigation.
The updated App.tsx code should look like this:
Add screens to the StackNavigator
Now that we have a NavigationContainer and a Stack, let’s add the LandingScreen and VideoDetailScreen to the stack. We’ll need to start by importing the VideoDetailPage.- Add the VideoDetailPage to the import statement for the screens.
- Add a
Stack.Navigatorcomponent underNavigationContainer. - Add two
Stack.Screencomponents underStack.Navigator, withnameandcomponentprops. - Set the
nameandcomponentprops to the corresponding names of each component in screens, where thenameis a string, and thecomponentis an object.
name can be different from the name of the component. For example, you could use ‘Landing’ with a component of {LandingScreen}.
The updated App.tsx code now looks like this:
Define a Theme
Let’s give our NavigationContainer a Theme, to give it some styling to ensure we keep the background color.- Add DefaultTheme after NavigationContainer in the respective import statement.
- Create a
constcalled “AppTheme” inside the App function, using the code below.
...DefaultTheme to copy the DefaultTheme into our AppTheme. We’re overriding the colors style in the theme. However, we only care about overriding the background and text colors, so we’ve added ...DefaultTheme.colors to pick up the colors that we’re not overriding.
- Pass our new theme to the NavigationContainer’s
themeprop.
- Refresh the app and see how it looks. You will notice a big white bar above our Header.
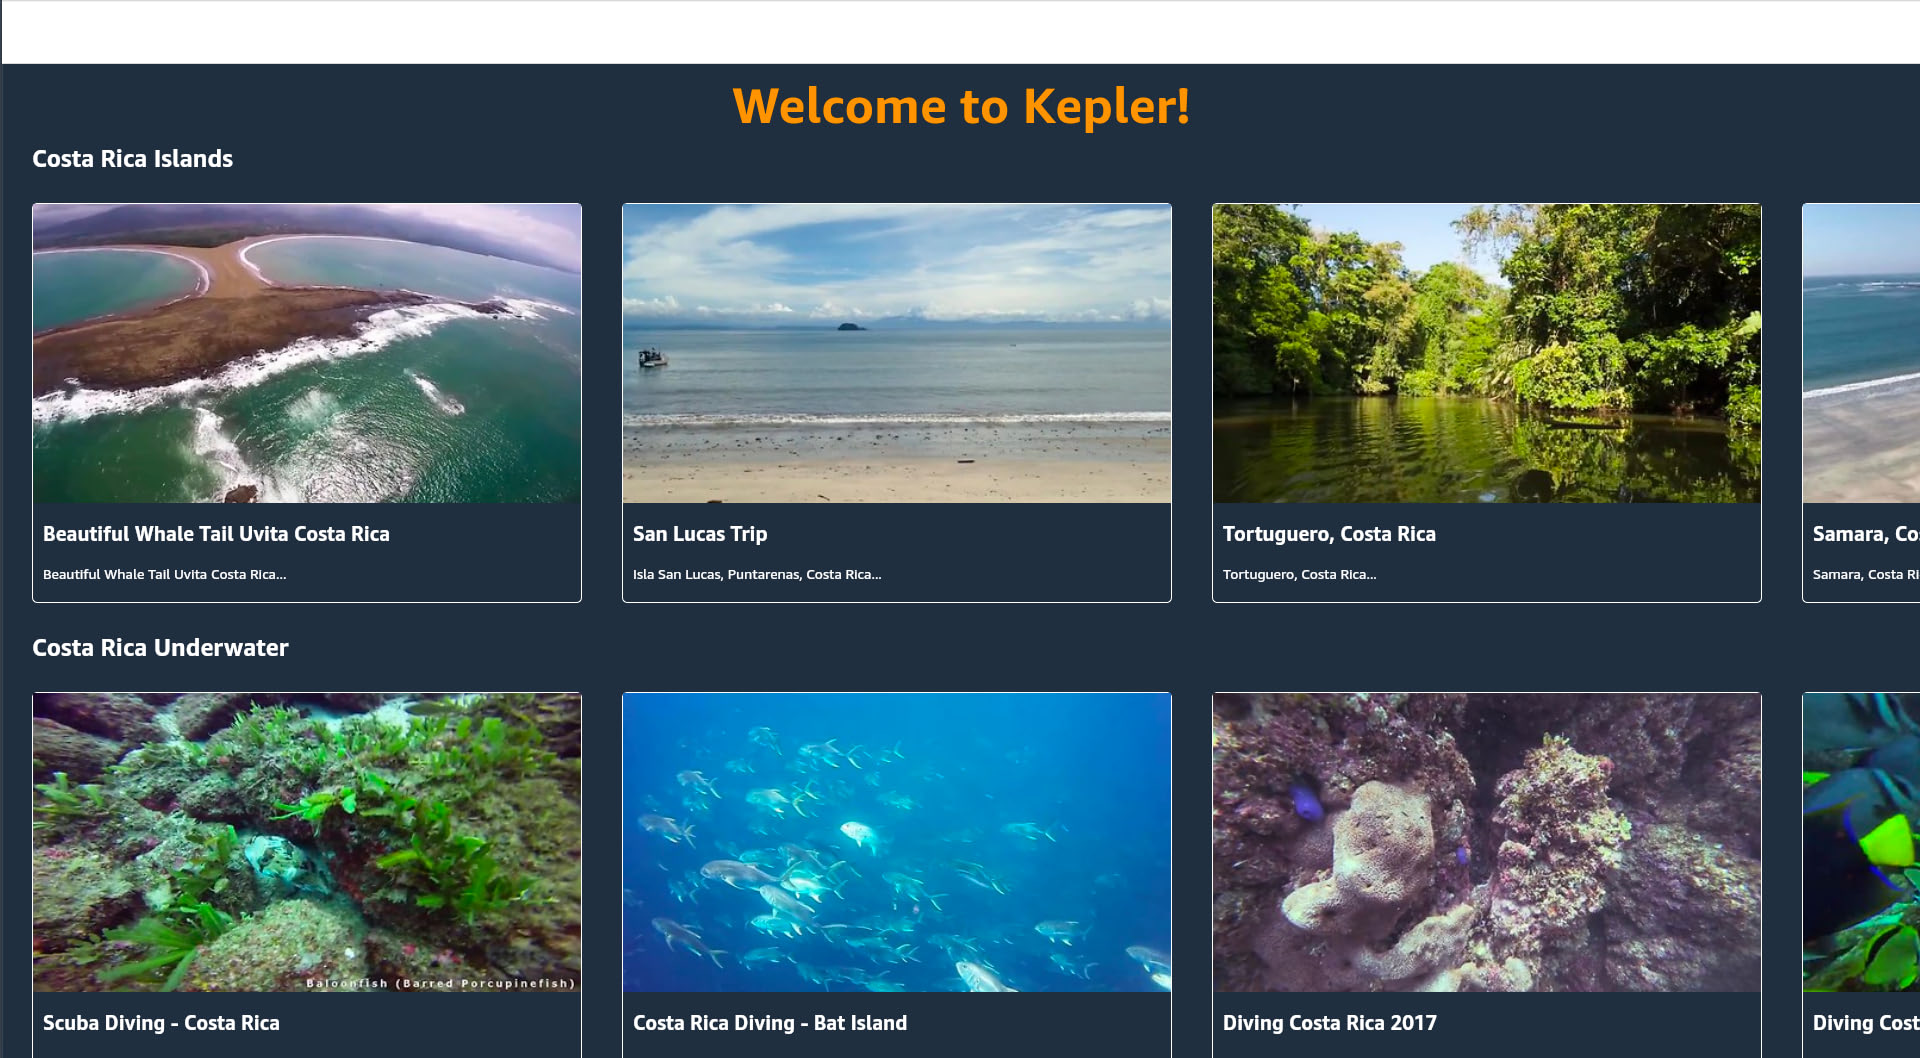
Stack navigator with white bar
Stack.Navigator a screenOptions prop and set it to {{ headerShown: false }}.
App.tsx code should now look like this:
Navigation basics
We can now wire up our screens using navigation. Before we do so, let’s go over some basics. Thenavigation object is passed to components and screens via the props object. All we need to do is destructure it in the parameters of the component/screen arrow functions to use it (e.g. { navigation }).
To navigate to another screen, we will call navigation.navigate, passing in the name of the screen we want to navigate to (e.g. navigation.navigate('LandingScreen')).
We can pass in additional parameters in an object with the fields and values we want to pass (e.g. navigation.navigate('LandingScreen', { param1: 1, param2: false, param3: []}). These additional paramaters are available through the route parameter, which is also available in props. In the screen or component receiving the parameters, we can desctructure the route object (e.g. { route }) and access the parameters through params (e.g. route.params.param1).
With this in mind, let’s start wiring up navigation between screens.
