

Account linking button guidelines
In this step, you design and implement a screen from which a user can start skill enablement and account linking. This screen should show what the user can do by linking their account with Alexa, such as ordering a car by voice. As you design your screen, follow the best practices for placement of the account linking option and how to minimize the number of clicks.iOS app
To add a UI button to your iOS app, follow these steps. To add an account linking button to your iOS app- Open your Xcode IDE and open your storyboard.
- Add a UIbutton to your view controller and name it something like “Link your account with Alexa”. Consider using a name that indicates the benefit that the user gets by linking their account, such as “Listen to your music with Alexa”, “Use Alexa to order a car with Ride Hailer”.

- On the top left of the Xcode IDE, click Show the assistant editor.
- Create an action connection for your button by dragging the button to the code editor.
Android app
To add a UI button to your Android app, follow these steps. To add an account linking button to your Android app- In Android Studio, in design mode, open the layout of the page that you want to add the app-to-app account linking button to.
- From the palette of options, drag and drop a new button into your layout.

- Define an ID for your button.
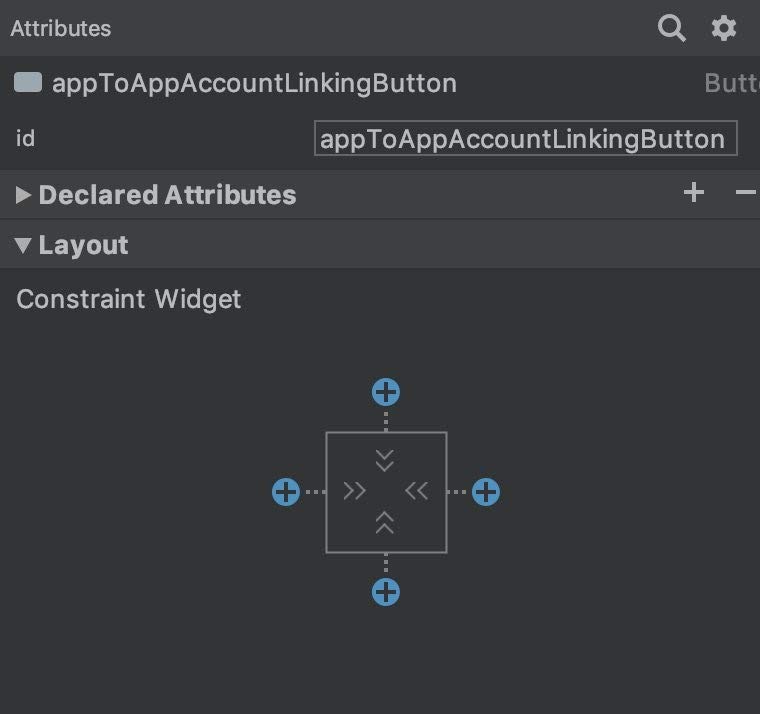
- In the code for your page, initialize your app-to-app account linking button and define its
onClicklistener behavior to start the flow, similar to the following example.
