Alexa Blogs
Today, we announced that Alexa devices are coming to India. Starting today, you can use the Alexa Skills Kit to build skills for customers in India using the new English (India) language model. If you are new to skill development, check out this detailed walkthrough to get started. If you’re an experienced Alexa developer, you can enhance your existing skill by extending it to support the new language model for India. This tutorial will show you how you can add support for the English (India) model for your existing skills. It will also show you how you can use the Alexa Skills Kit SDK to respond based on locales.
What You Will Learn:
- How to update a skill for India using the new English (India) language model,
- How to update your AWS Lambda function, so your skill delivers the right content to your customers in each of the supported regions—all from a single code base.
Part 1: Add the New Language Model for Your Skill
- Navigate to your existing skill on the Amazon Developer Portal.
- Click on Add a New Language button.

- Follow the steps below to complete the Skill Information tab:
- Language: Choose English (India) from the dropdown.

- Name: Let's name our skill Daily Inspiration.
- Invocation Name: Let's set the invocation name to daily inspiration.
- Leave other options to their defaults (No).
- Click on Save, and then click on Next to move to the Interaction Model.
- Language: Choose English (India) from the dropdown.
- We now need to provide the interaction model for the India version. We can do that by simply copying the interaction model from the US version of our skill. To do that, switch to the US version by clicking on the language dropdown in the Skill Builder, and choose English (US).

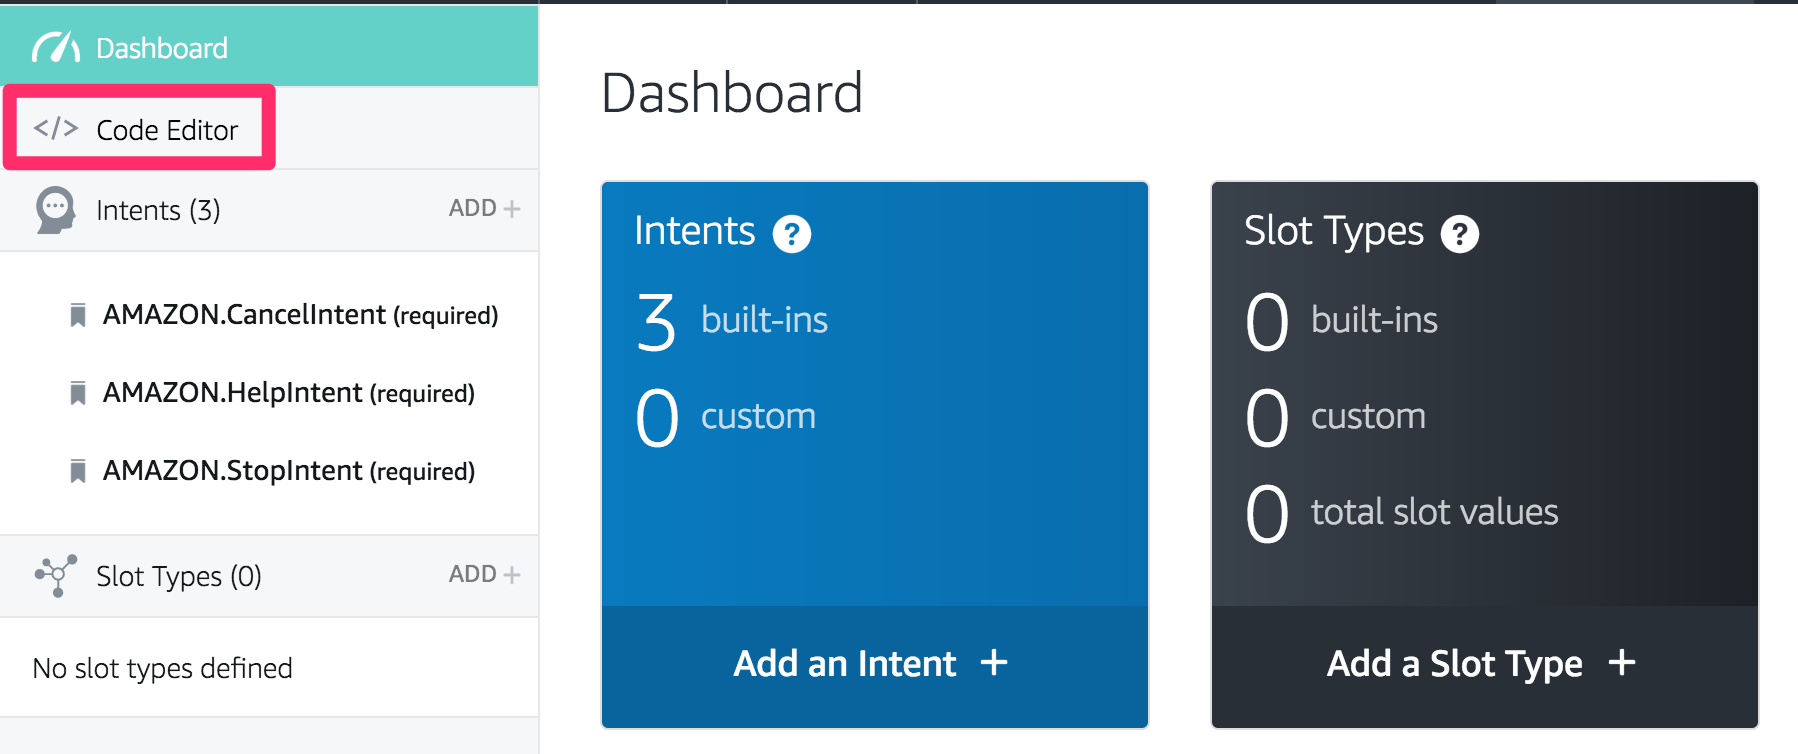
- Click on Code Editor on the left side bar.
- Select all, and copy the entire JSON in the code window.

- Switch back to English (India) using the dropdown from Step 7.
- Click on Code Editor again, and paste the JSON replacing the existing JSON.
- Click on the Apply Changes button.
- Click on the Build Model button.

We now have the language model built for English (India). One of the next few things you would want to do at this point is customize the content and Alexa responses for your skill based on the regions, which we’ll now do by updating the Lambda function.
Part 2: Update the Lambda Function
Now that your skill is ready to support multiple regions, you may want to update your Lambda function to ensure that your skill provides responses tailored to each supported region. For instance, you may want to greet your customers in India with "Namaste,” and "Hello" in the US and UK. The Alexa Skills Kit SDK makes that really simple. Here is an example in Node.js. Step 1: Set the language strings for each region The way we do that is by defining all user-facing language strings in the following format:
var languageStrings = {
    'en-IN': {
        'translation': {
            'SKILL_GREETING' : 'Namaste',
            'SKILL_NAME': 'Indian Quotes',
        }
    },
    'en-GB': {
        'translation': {
            'SKILL_GREETING' : 'Hiya',
            'SKILL_NAME': 'British Quotes',
        }
    },
    'en-US': {
        'translation': {
            'SKILL_GREETING' : 'Hello',
            'SKILL_NAME': 'American Quotes',
        }
    },
    'de-DE': {
        'translation': {
            'SKILL_GREETING' : 'Hallo',
            'SKILL_NAME': 'German Quotes',
        }
    }
};
As you can see, the languageStrings object contains four objects, one for each supported language (en-US, en-GB, de-DE, and now en-IN). The object names are identical to the value of the locale property that is passed to our skill when it is invoked by Alexa. This tells us what language model the end user’s device is configured to use so that we can respond with the appropriate language. You can see this in action by looking at the JSON request sent to your skill through the Service Simulator.

Each language has a translations object. This is where we specify any properties that are different for each language. For our example, we have SKILL_GREETING and SKILL_NAME as part of the language strings. You can add more strings as you find relevant. Step 2: Enable internationalization for your skill using the Alexa Skills Kit SDK To enable string internationalization (i18n) features in Alexa-sdk, we set resources to the object we created above.
exports.handler = function(event, context, callback) {
     ...
     ...
    alexa.resources = languageStrings;
     ...
     ...
};
Step 3: Access the language strings Once you are done defining and enabling language strings, you can access these strings using the this.t() function. Strings will be rendered in the language that matches the locale of the incoming request.
'HelloWorldIntent': function () {
    speechOutput = this.t()
    this.response.speak(speechOutput);
    this.response.cardRenderer(this.t('SKILL_NAME'), speechOutput);
    this.emit(':responseReady');
}
That’s all that it takes to update your skill to be available for customers in India. We are excited to have Alexa available in India, and we can't wait to see what you build.
Check out our documentation on Developing Skills in Multiple Languages to learn more about how you can use the Alexa Skills Kit to create multi-language skills, and the Smart Home API to Develop Smart Home Skills in Multiple Languages.
Learn More
- Alexa Skill Templates and Sample Code on GitHub
- Alexa Cookbook
- Alexa Skill Development Courses on Codecademy
- Alexa Skills Kit Training Videos
- Alexa Developer Forums
- Alexa Developer Blog
Useful Blog Posts
- Tips for a Successful Alexa Skill Certification
- Why console.log() Is Your Friend
- Export Your Amazon Lex Bot Schema to Use in Your Alexa Skill
- Getting Started with the Alexa Skill Management API and the Alexa Skills Kit Command-line Interface
- Publishing Your Skill Code to Lambda via the Command Line Interface
- Alexa Account Linking: 5 Steps to Seamlessly Link Your Alexa Skill with Login with Amazon
