Alexa Blogs

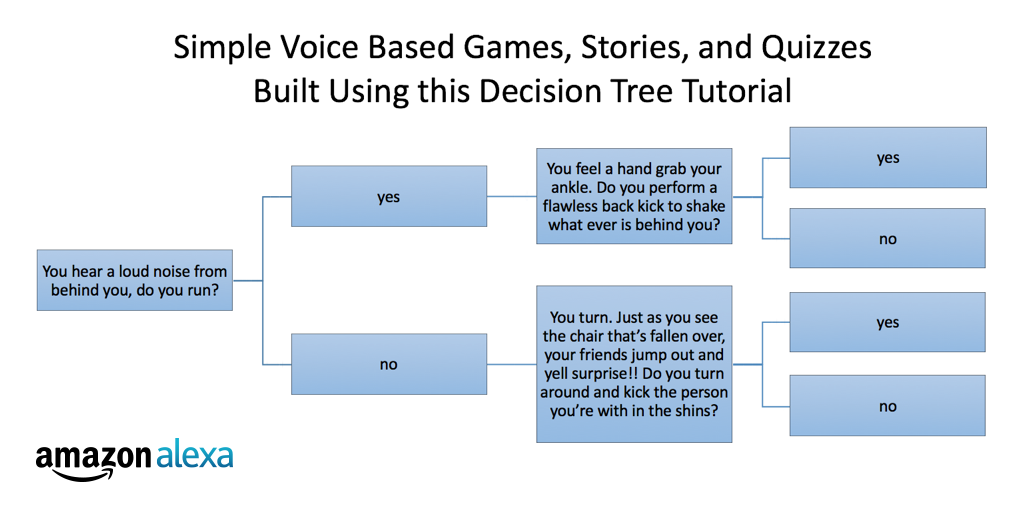
We are excited to introduce a new way to help you quickly build useful and meaningful skills for Alexa. The new Decision Tree skill template makes it easy for developers and non-developers to create skills that ask you a series of questions and then give you an answer. This is a great starter for simple adventure games and magazine style quizzes like ‘what kind of job is good for me’. This template leverages AWS Lambda and the Alexa Skills Kit, and provides built-in business logic, use cases, error handling, and help functions for your new skill. Simply come up with the idea, plug in your decision tree content, and edit the sample provided. Follow this tutorial and we'll show you how it's done.
Using the Alexa Skills Kit, you can build an application that can receive and respond to voice requests made to Alexa. In this tutorial, you’ll build a web service to handle notifications from Alexa and map this service to a skill in the Amazon Developer Portal, making it available on your Echo, Alexa-enabled device, or Echosim.io for testing and to all Alexa users after publication.
When finished, you'll know how to:
- Create a skill - This tutorial will walk Alexa developers through all the required steps involved in creating a skill. No previous experience required.
- Design a Voice User Interface - Creating this skill will help you understand the basics of creating a working Voice User Interface (VUI) while using a cut/paste approach to development. You will learn by doing and end up with a published Alexa skill. This tutorial includes instructions on how to customize the skill and submit for certification. For guidance on designing a voice experience with Alexa you can also watch this video.
- Use JavaScript/Node.js and the Alexa Skills Kit to create a skill - You will use the template as a guide but the customization is up to you. For more background information on using the Alexa Skills Kit please watch this video.
- Get your skill published - Once you have completed your skill, this tutorial will guide you through testing your skill and sending your skill through the publication process to make it available for any Alexa user to enable.
You will also need an AWS account and an Amazon Developer account. To get a refresher on how to do this, or if you are new to skill development, you can visit our training page to review our past tutorials.
Step 1 – Get the files you’ll need
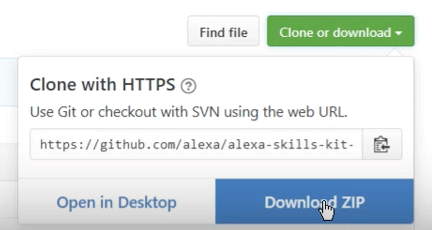
From: https://github.com/alexa you will need to get the Node SDK (https://github.com/alexa/alexa-skills-kit-sdk-for-nodejs) and the decision tree sample (https://github.com/alexa/skill-sample-nodejs-decision-tree).
- Download the SDK and Sample
Once you have the files, we need to include the SDK in the sample that you’ll be working from.
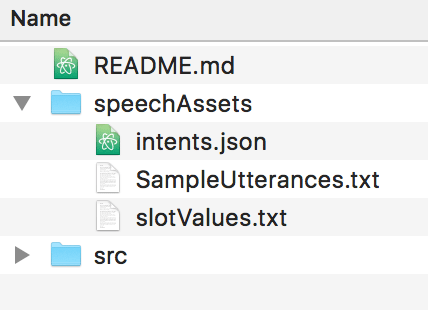
You should have two folders: The SDK is “alexa-skills-kit-for-nodejs-master” and the Sample is “skill-sample-nodejs-decision-tree-master”
You can do this via NPM install or copy it manually. For NPM, Use terminal to navigate to the skill-sample-nodejs-decision-tree-master folder and install the sdk using the following npm command.
<code>npm install --save alexa-sdk</code>
1.2 In the src folder of your sample (skill-sample-nodejs-decision-tree-master/src/), create a node_modules directory and copy the SDK folder to it. Rename the SDK to be “alexa-sdk”. The directory structure should look like this:
skill-sample-nodejs-decision-tree-master/src/node_modules/alexa-sdk
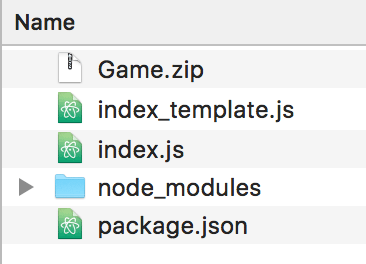
1.3 Zip the files in ‘src’ (do not include the src folder itself)
Step 2 – Create an AWS Lambda Function
Now, you will need to upload the zip file you just made into AWS Lambda.
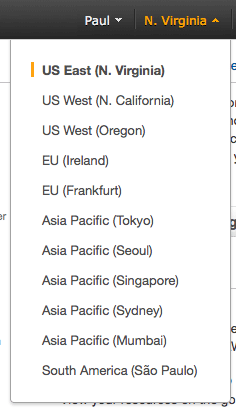
2.1 Log into console.aws.amazon.com, make sure the region (top right corner) is set to N. Virginia, and click on Lambda (one of the compute services).

2.2 Choose ‘Create a Lambda Function’ or ‘Get started’ and skip the blueprint
2.2 Choose Alexa Skills Kit for the trigger.

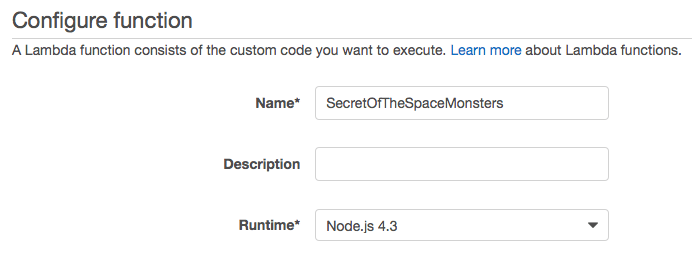
2.3 Pick a name for your function
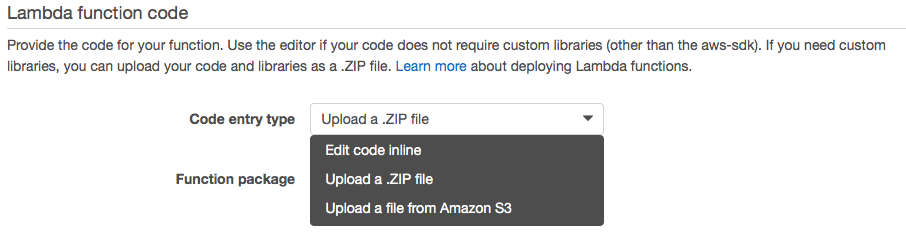
2.4 For ‘Code entry type’ choose ‘Upload a ZIP file’ and choose the ZIP you made in Step 1.3 of this tutorial.
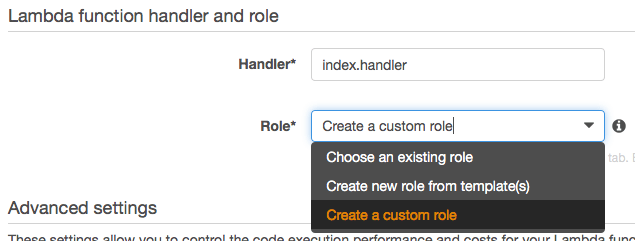
2.5 For ‘Role’, choose ‘Create a custom role’ and then allow lambda_basic_execution in the new window that pops up.
2.6 Leave everything else as default, choose Next and Create Function.
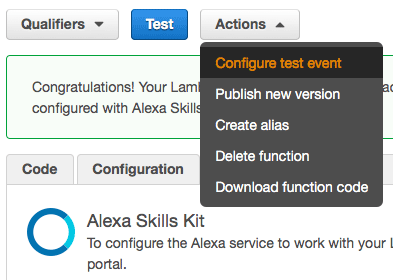
2.7 Test by clicking ‘Actions’ then ‘Configure test event’
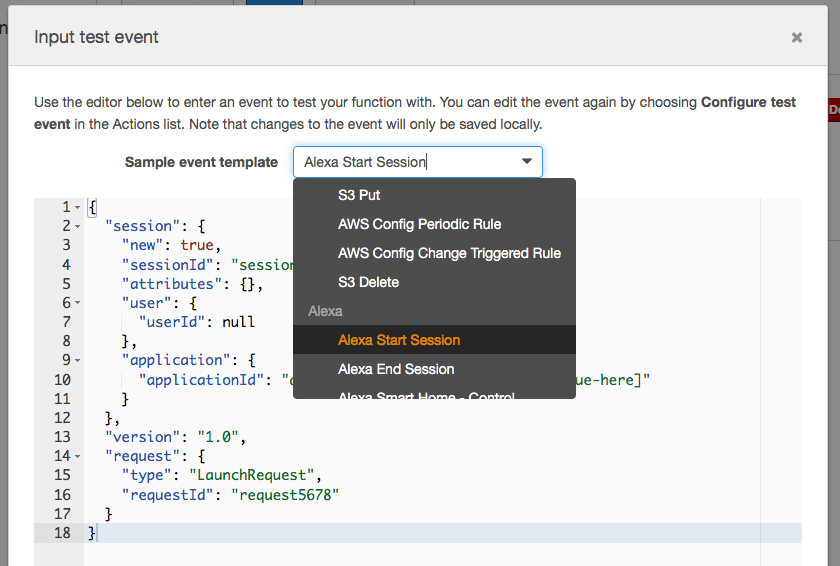
2.8 For ‘Sample event template’, choose ‘Alexa Start Session’ and then ‘Save and Test’
Ok, now your backend core logic is working. Now we need to build the user experience.
Step 3 – Set up Your Alexa Skill in the Developer Portal
Skills are managed through the Amazon Developer Portal. You will link the AWS Lambda function you created in the previous step to an Alexa skill defined in the Developer Portal. For this step, you’ll sign into http://developer.amazon.com.

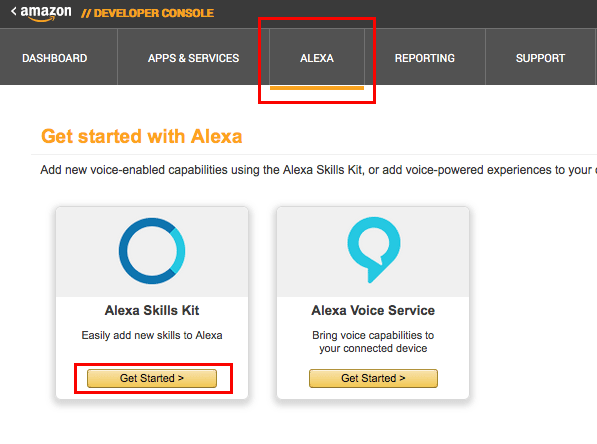
3.1 Go to Alexa in the navigation bar, choose ‘Alexa Skills Kit’, then ‘Get Started’ or ‘Add a New Skill’.
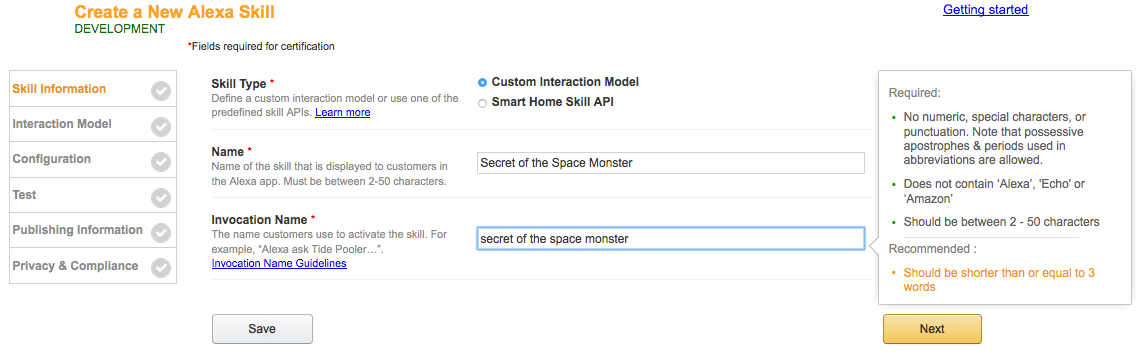
3.2 Set your skill’s name and invocation name
This is the time to select the ‘Name’ and ‘Invocation name’ of the skill you are making. We will get the sample working before customizing the code, for now, select the name you want to use, and be aware that the ‘Invocation name’ is what users will have to say to launch your skill. We will customize the whole skill in step 4. When picking names, pay particular attention to the naming conventions shown in the tooltips and avoid any trademarked names or brands.
3.3 Go to ‘speechAssets’ in the Decsion Tree sample folder
Complete the ‘Interaction Model’ page using the content from the speechAssets folder you downloaded in step 1 of this tutorial. The Interaction Model includes the content for intents, sample utterances, and custom slot values.
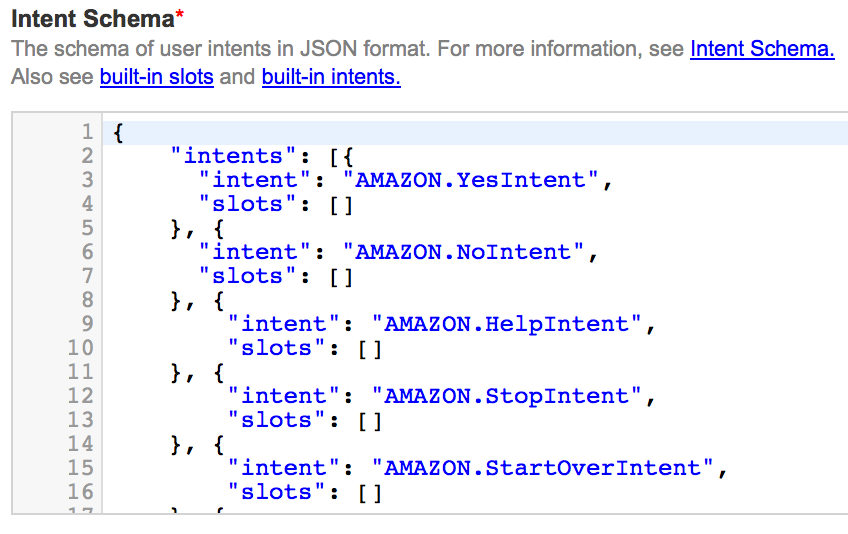
3.4 Copy the contents of Intents, SampleUtterances and slotValues to the ‘Interaction Model’ page on developer.amazon.com
3.5 Paste Intents JSON into Intent Schema
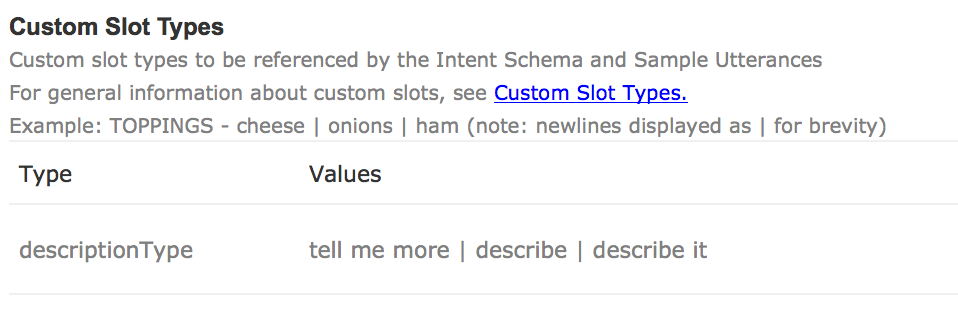
3.6 Add a Slot Type called ‘descriptionType’ (case sensitive) and paste the slotValues
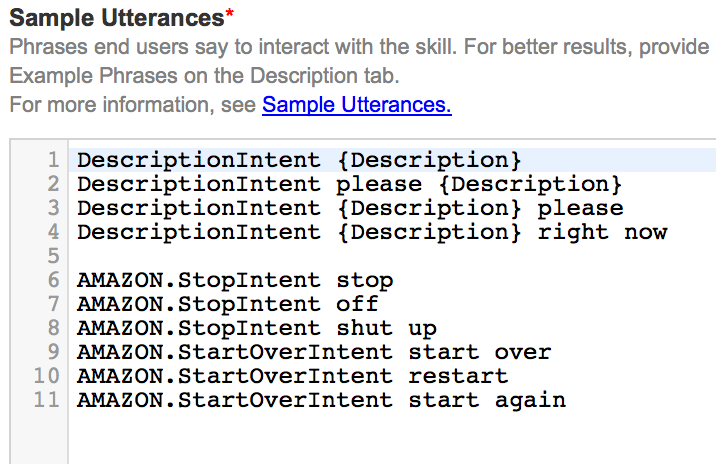
3.7 Paste utterances text and click ‘Next
3.8 On the configuration page, choose ‘Lambda’

3.9 From aws.amazon.com/lambda, copy your function’s ARN and paste it into the developer.amazon.com


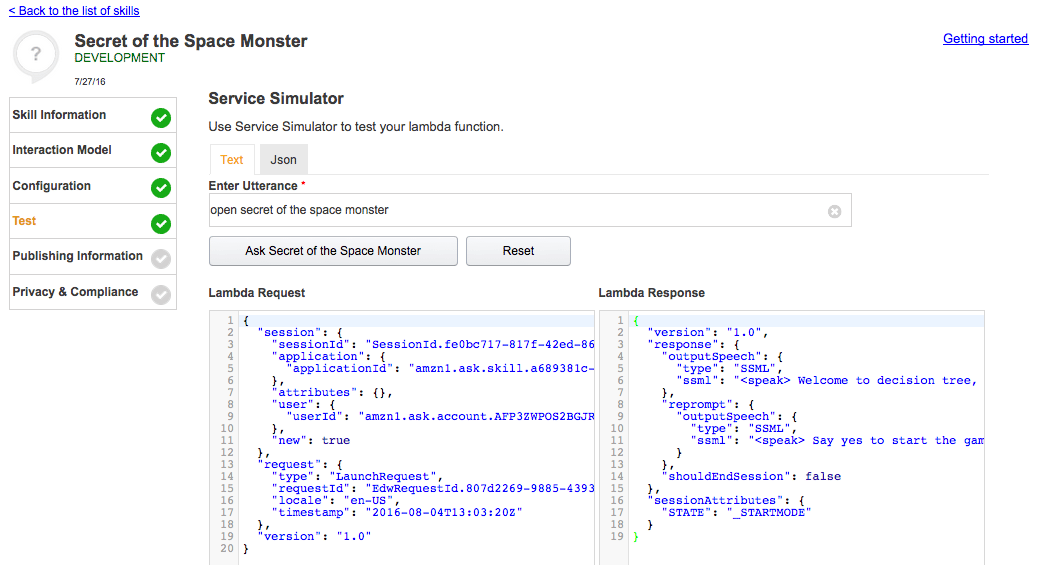
Finally, you can use the ‘Test’ page by typing ‘open’ the pressing ENTER in the ‘Enter Utterance’ box. You can hear Alexa’s response by clicking the play button in the lower right of the Lambda Response box.
Good work. Now you have a skill that’s working end to end. The next steps are to customize the skill to your own scenario and to publish it.
Step 4 - Customize Your Skill
Now let’s dig in and make some changes so that your skill delivers a unique and interesting experience. To do this, you will need to change the text. What do you want it to be about? What are your interests or hobbies? Will you make an adventure game, a quiz, something else? You can also choose to go farther and change the logic if you want.
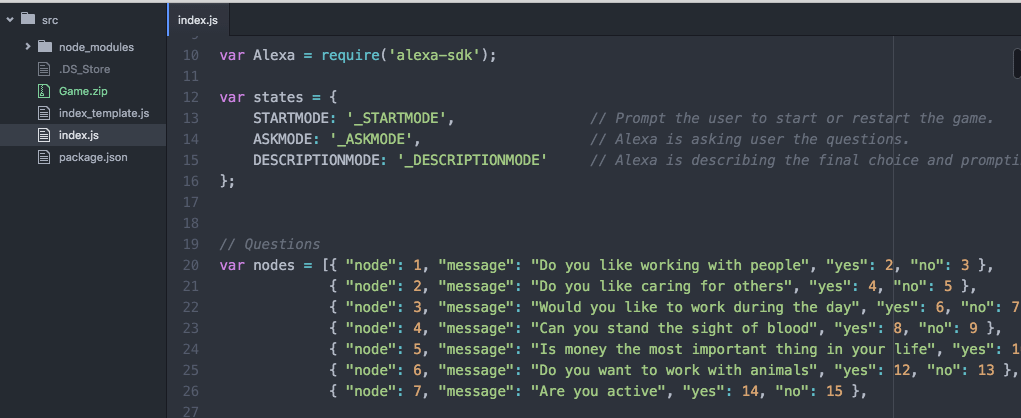
4.1 To change the text, you will need to make changes in index.js
4.2 Change the “nodes” variable to add your own questions and answers. You will also need to change the other messages between lines 45 and 75 to customize things like “welcomeMessage”, “helpMessage”, etc
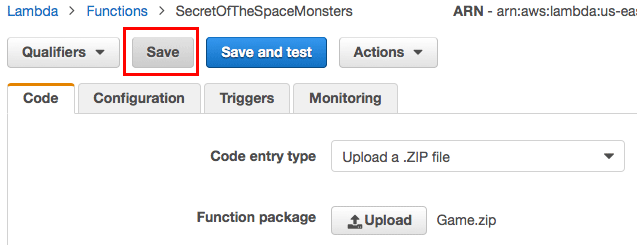
4.3 Upload a new ZIP file to http://aws.amazon.com/lambda then choose ‘Save and Test’

4.4 Test and debug your customized skill using the ‘Service Simulator’ on developer.amazon.com

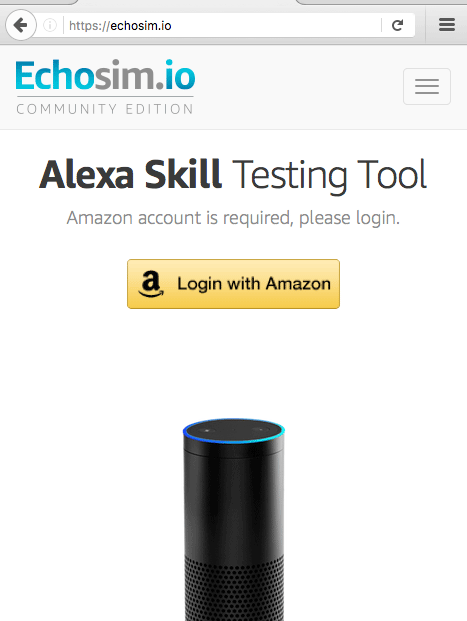
4.5 Test the customer experience using http://echosim.io
This is all you really need to do to customize your skill, but you could do a lot more. Some ideas:
- Respond to words other than yes and no
- Randomize the welcome, exit, and help text
- Store the status across sessions using DynamoDB
Step 5 - Publish Your Skill
To get the full experience of building skills and exploring Voice User Experience, you should publish your skill and see what customers have to say about it.
4.1 Read the submission checklist and certification guidelines.
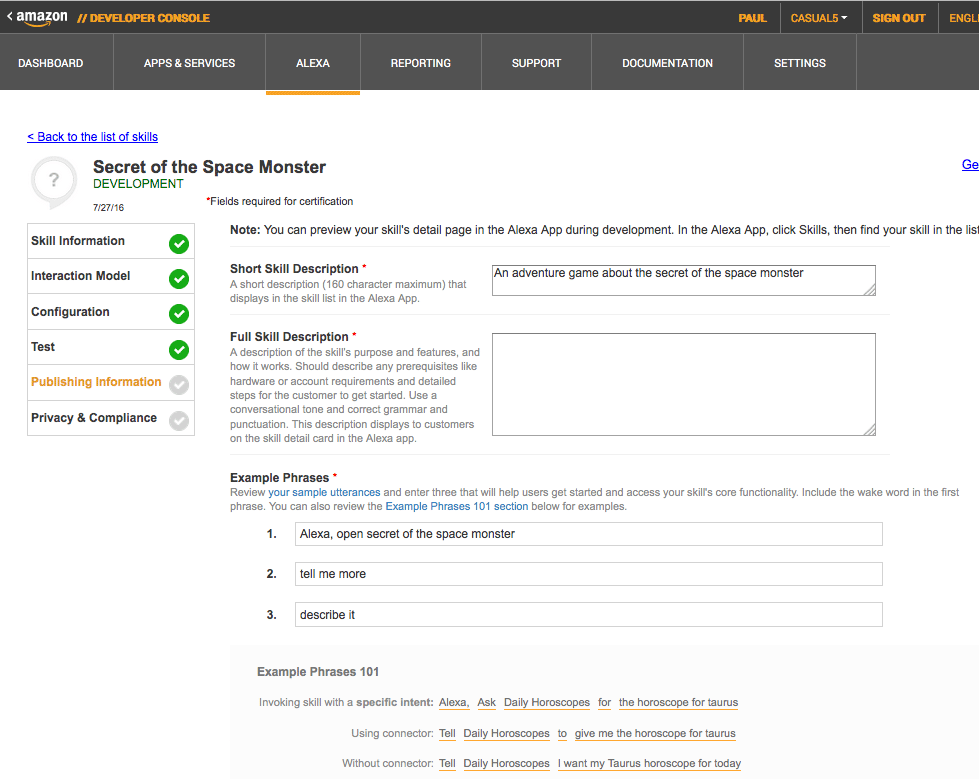
4.2 Fill out the descriptions and example phrases
You will need to describe your skill, add two icons, and give example utterances so that people know how to use it. The example utterances are important to get right. Carefully read the tool tips and the “Example Utterances 101” section on the Publishing Information page. The first example utterance needs to be “Alexa, open” followed by your invocation name. The other two examples should be utterances copied straight from the utterances list in your invocation model (do not include the intent, just the utterances).
For the long description, provide information about the core functionality of the skill. For example “The Choose a Career skill will help you identify the type of job that might be best for you. Just answer a few yes or no questions and this skill will recommend a career for you!”. You should avoid referencing brands but if you do, be sure to clearly call out “not sponsored or endorsed by [brand name]”.
4.3 In ‘Testing Instructions’ add the hashtag #DecisionTree
4.4 Double check your invocation name.
Don’t use brands if you don’t own intellectual property, follow the certification guidelines, keep the text all lower case, avoid reserved works, and use proper abbreviations.
Congrats! That’s it!
You’ve submitted your skill for publication!

You will receive progress emails and possibly other suggestions from the Alexa certification team on how you can make your skill even better. Remember, you can update your skill at any time.
If you publish your skill by August 31 2016, you can get a free, limited edition Alexa dev t-shirt. Quantities are limited. See the complete terms and conditions here.
Code Happy,
-Noelle (@NoelleLaCharite)
More Resources:
Subscribe to Alexa Announcements