


There are a number of plugins available to help you integrate Login with Amazon (LwA) into your website. One of these is the LwA plugin for WordPress. If you allow users besides yourself to log in to your WordPress installation, it can be useful to let them use their Amazon credentials to log in, giving them one less ID/password combination to remember.
It's quite simple. Install it, activate it, configure it, and it will add a "Login with Amazon" button below your regular site login form. Here's how that works:
Install it
In the Plugins section of your WordPress control panel, select “Add New”. On the “Add New page”, search for "Login with Amazon".

As of this writing, the official plugin (version 1.0.0) should be the first choice offered. Install the plugin.
At the end of the installation process, you'll have the option to activate the plugin. If you are upgrading on a live, relatively high-volume site, hold off on activating until you're sure you've got a properly configured security profile and client ID.
Setting up a security profile and client ID
Login with Amazon requires a security profile registered in the Amazon Developer Portal or an application registered on your Seller Central App Console.
The following directions cover the Developer Portal workflow.
Once you're logged into the Developer Portal, go to the “Apps & Services” section, then select “Login with Amazon” (or use this direct link to Login with Amazon).
First, create a new security profile.
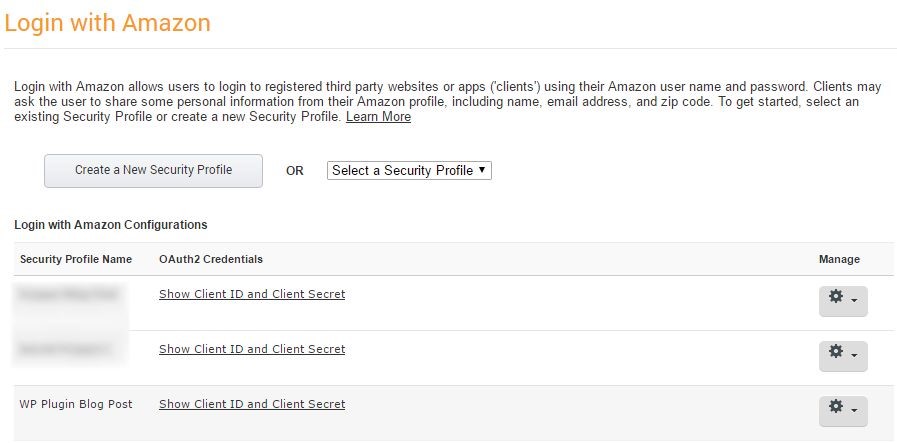
Click the "Create a New Security Profile" button and answer the questions on the next page. When this is complete, the security profile will be added to the list. Move your mouse over the gear image on the right-hand side and select the "Web Settings" option.

All of the options from the gear drop down menu will be available as tabs on the next page.

Click the "Edit" button to make the "Allowed Origins" and "Allowed Return URLs" sections editable. In "Allowed Origins," enter the base URL for your WordPress installation.
Then go to the "General" tab and copy your "Client ID."
Activate and configure it
With the client ID copied and an “Allowed Origin” set, go back to your WordPress site.
During installation, you had an option to activate the plugin. If you paused, opened a new window, and created your security profile, you can activate it upon your return. If you completed the installation without activating it, go to the plugins control panel on your WordPress installation and activate the Login with Amazon plugin.
When it is activated, a "Login With Amazon Settings" link will appear in the left-side navigation options of the WordPress admin section. Click it.

Paste your client ID into the "Client ID" box and click "save changes."
Now you can log in:
- Go to the wp-login.php page at the top level of your WordPress installation.
- Click the Login with Amazon button
- Complete the login.

Your users can now use Login with Amazon to register for and log in to your site.
Please share your questions and comments with the LwA team in the LwA forum.


